
Transitioning from AWS EC2 to Docker and portainer for website development
Introduction
In this insight article, we explored the transition of Exemplifi, a web development company, from using dedicated Amazon Elastic Compute Cloud (EC2) instances to Docker and Portainer for managing development and staging environments for large websites.
The traditional method of maintaining dedicated EC2 instances for each website environment proved cumbersome and cost-prohibitive. By leveraging Docker's containerization platform and Portainer's open-source container management tool, we were able to cut expenses significantly and streamline our environment management.
The article delved into Portainer's key concepts, including Stacks, Images, and Containers, and outlined how to set up isolated environments for development and staging on a single server. By using Docker Compose files to define website services and deploying them as a stack in Portainer, we have been able to create as many environments as needed without incurring substantial costs.
The article also provided a detailed walkthrough of setting up WordPress development and staging environments on Portainer, showcasing the simplicity, flexibility, and cost-effectiveness of this approach.
Overall, the adoption of Docker and Portainer has not only optimized Exemplifi's resource utilization but also boosted efficiency and agility in the development process.
The Problem
Exemplifi, a web development company, has always been committed to providing state-of-the-art solutions and services for building and managing large websites. One of our key solutions is hosting services, where we leverage Amazon Web Services (AWS) to host our customer's websites.
As part of our web development workflow, each website requires a production environment, as well as development and staging environments. Traditionally, we've maintained dedicated Amazon Elastic Compute Cloud (EC2) instances for each of these environments. However, this approach has proven to be both expensive and cumbersome due to the cost of EC2 instances and the overhead associated with managing them.
Even though the development and staging environments are lightly used, they still require a dedicated EC2 instance. This can often lead to over-provisioning and an unnecessary increase in costs.
The Solution
To overcome this challenge, we've adopted Docker, a containerization platform, to reduce our expenses and streamline our environment management. We've coupled Docker with Portainer, an open-source tool for managing containerized applications.
Understanding Portainer
Portainer simplifies the management of Docker environments, providing a comprehensive user interface for handling tasks such as the deployment, monitoring, and maintenance of Docker Stacks, Images, and Containers.
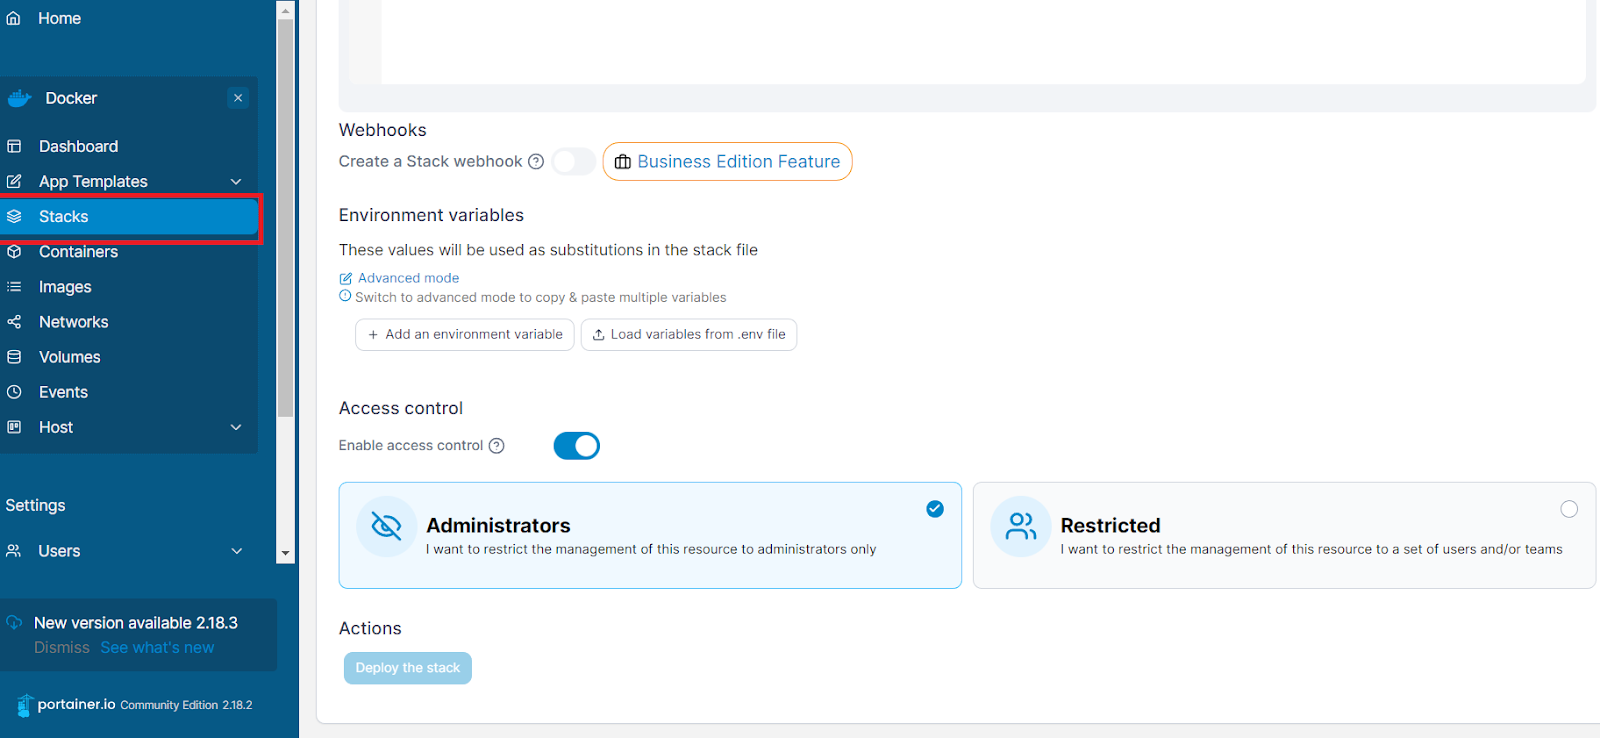
1. Stacks: A stack in Portainer is a group of interrelated services that share dependencies and can be orchestrated and scaled together. A single stack can represent a complete application.
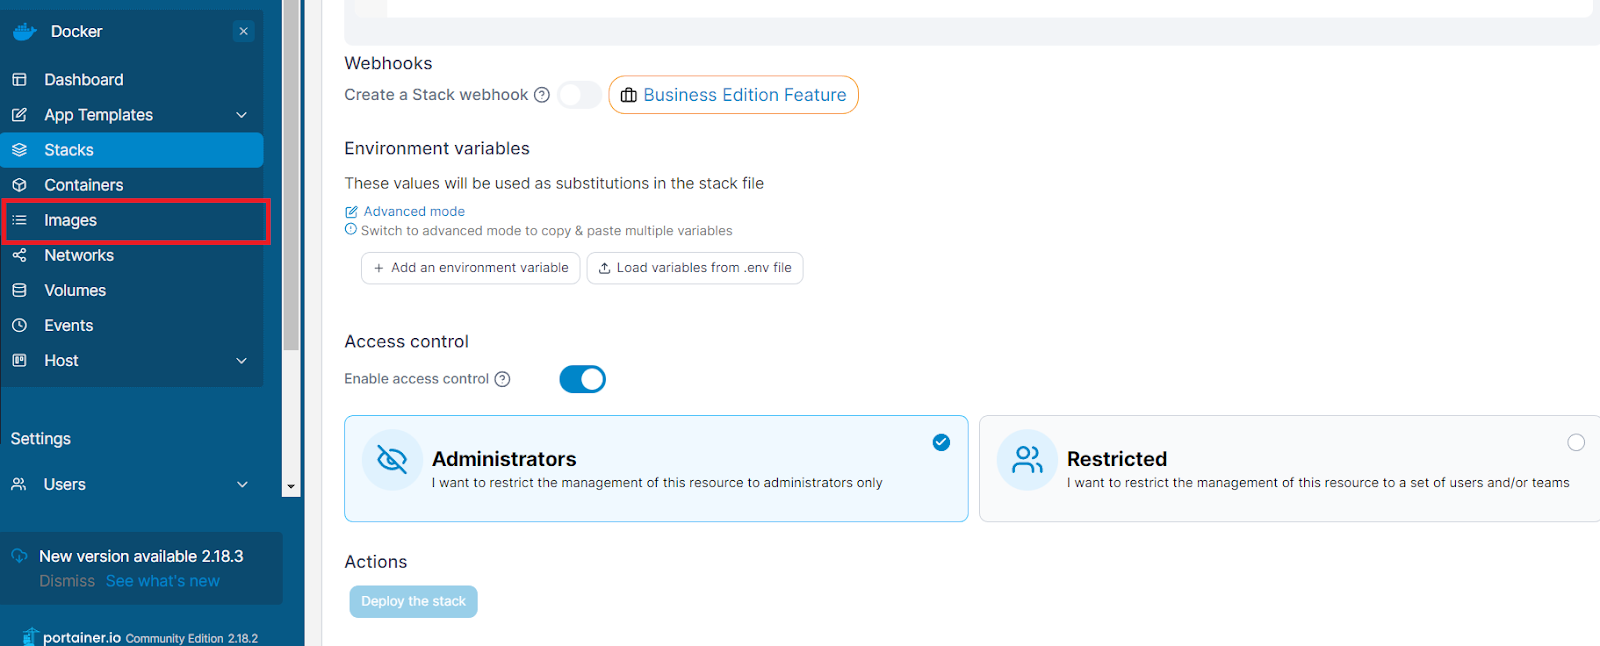
2. Images: An image in Docker is a lightweight, stand-alone, executable package that includes everything needed to run a piece of software, including the code, runtime, system tools, system libraries, and settings.
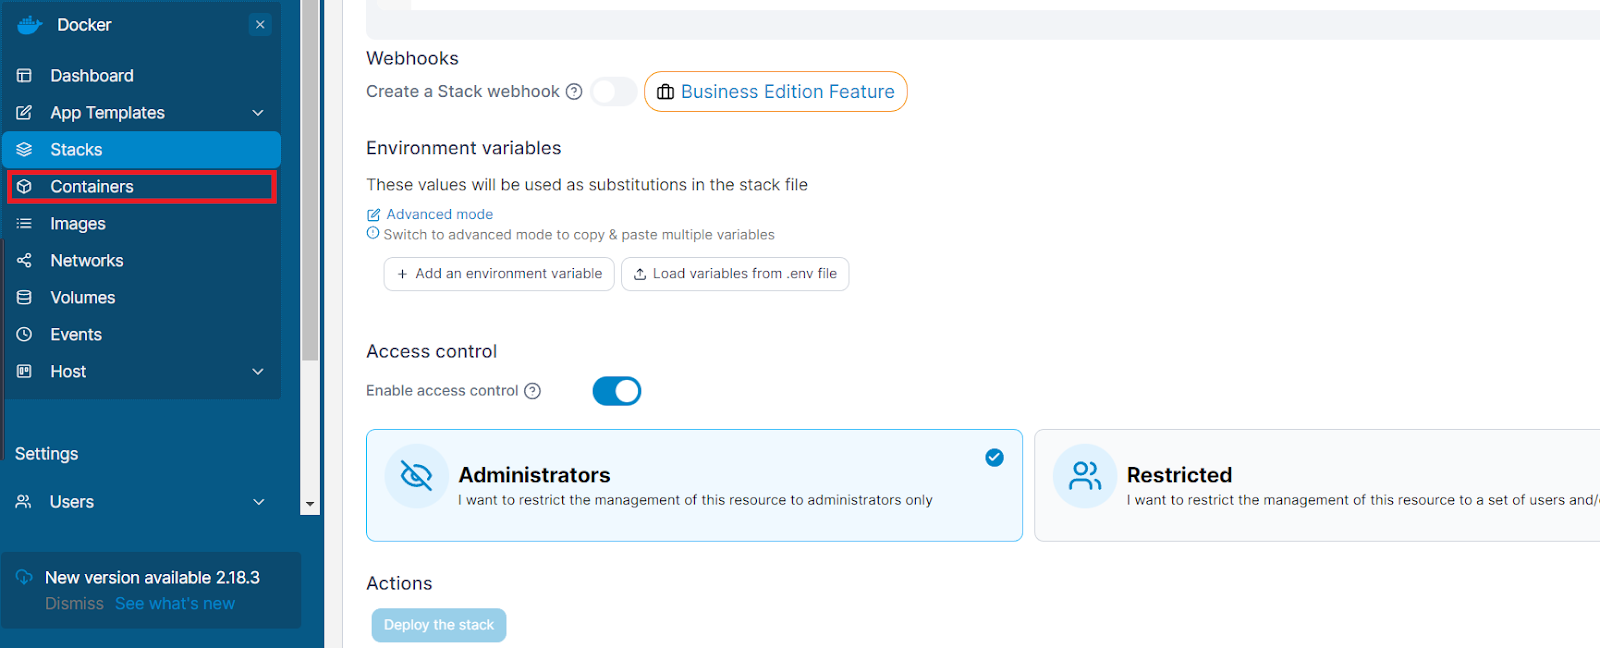
3. Containers: A Docker container is a standard unit of software that packages up code and all its dependencies so the application runs quickly and reliably from one computing environment to another.
By harnessing Docker and Portainer, we can easily create isolated environments for development and staging on a single server, significantly reducing our costs compared to running multiple EC2 instances.
Setting Up Dev and Staging Environments on Portainer
With Portainer, setting up development and staging environments for websites is as straightforward as defining your services in a Docker Compose file and deploying it as a stack. Let's consider the case of a WordPress website:
1. Create a Docker Compose file: This file should define the services that make up your website (for example, WordPress and MySQL services). It's essential to use different Compose files for development and staging to ensure they're isolated from each other.
2. Deploy the stack in Portainer: Portainer provides an option to upload your Compose file and deploy it as a stack. This step automatically creates all the services defined in your Compose file, setting up your environment.
3. Access the website: Once the stack is deployed, you can access your website by using the public IP of your server along with the port you've defined for your WordPress service.
4. Manage the stack: Portainer provides an interface to manage your stack. You can easily start, stop, or delete your stack. Furthermore, you can monitor the logs, inspect the configuration, and even open a console to your services.
The beauty of this setup is that you can create as many environments as you need without incurring substantial additional costs. Each environment runs in its container, isolated from the others, ensuring that changes in one do not affect the others.
Detailed Example of Portainer running WordPress Dev and Staging Instances
Let's take a more detailed look at how you would set up a WordPress development and staging environment in Portainer.
Creating the Docker Compose File:
This YAML file specifies the services, networks, and volumes for your WordPress site. For WordPress, you generally need two services: one for WordPress itself and one for the MySQL database it relies on.
2. Deploy the Stack in Portainer: Once you've created your Compose file, log into Portainer and navigate to the "Stacks" page. Click "Add a new stack" and then upload your Compose file. You can name the stack "wordpress-dev" or "wordpress-staging" to keep track of your environments.
3. Access Your Site: With your stack deployed, you can now access your WordPress site by navigating to the server's IP address on port 8000 (or whichever port you defined in your Compose file).
4. Managing the Stack: Within Portainer, you can manage your newly created WordPress stack. For example, you can view its status, check the logs, or stop the stack entirely. If you need to make changes, you can update the Docker Compose file and re-deploy the stack.
Drupal Implementation on Portainer
Implementing a Drupal environment in Docker managed by Portainer follows a similar pattern to WordPress. Here's how you can create a Drupal development or staging environment:
Creating the Docker Compose File
A Docker Compose file will help you specify the services that your Drupal site will need to run. These services typically include Drupal itself and a database (usually MariaDB or MySQL). Below is a simple Docker Compose file for setting up Drupal:
This Docker Compose file creates two services: one for Drupal and one for MariaDB. These services will be used to run your Drupal website. Notice that we're using volumes to persist our data. If the containers are stopped or deleted, the data will still persist and be available when the containers are brought back up.
Deploying the Stack in Portainer
1. Log into Portainer: Navigate to your Portainer instance in your web browser and log in.
2. Create a new stack: Go to the "Stacks" menu and click on "Add a stack."
3. Upload your Docker Compose file: Name your stack (e.g., "drupal-dev" or "drupal-staging") and upload the Docker Compose file you created earlier.
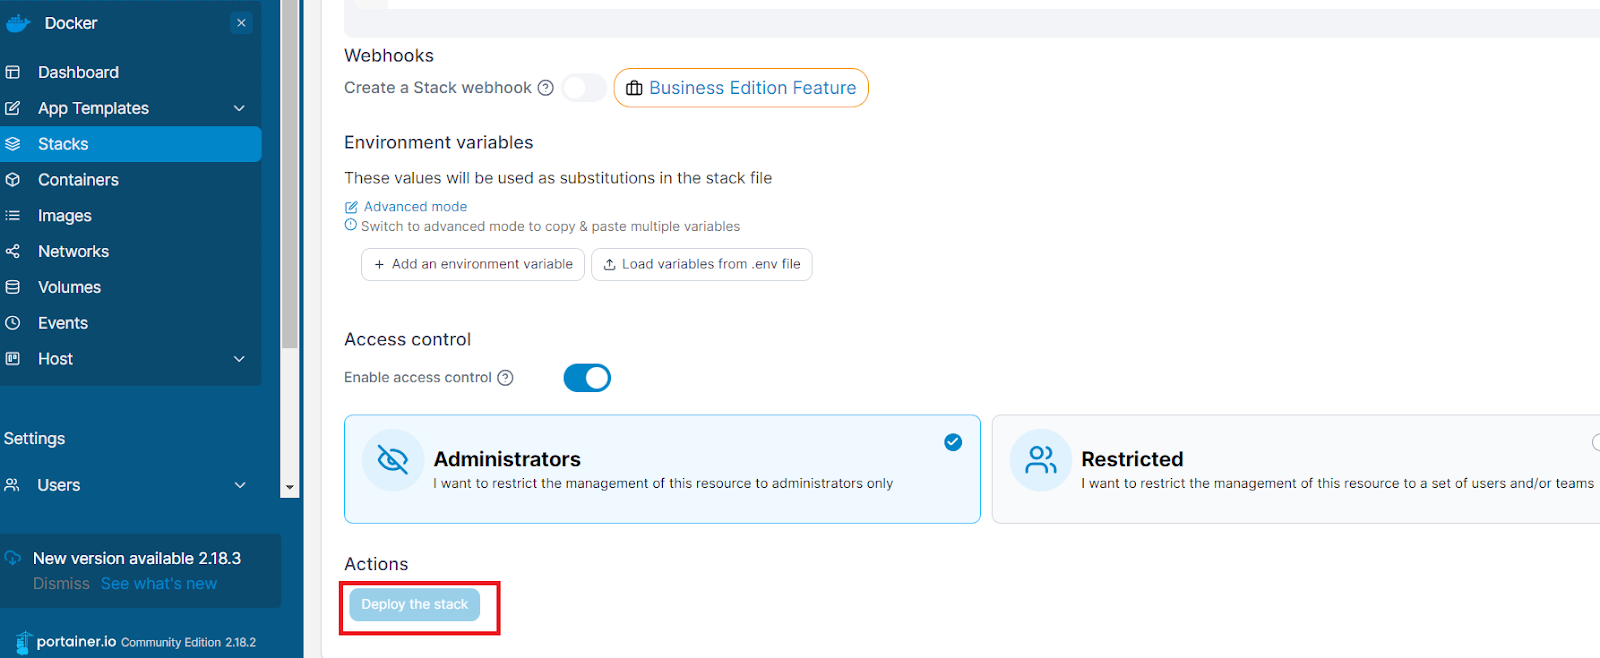
4. Deploy the stack: Click "Deploy the stack." Portainer will read your Docker Compose file and set up the Drupal and MariaDB containers.
Accessing Your Drupal Site
Once your stack is deployed, you can access your Drupal site by navigating to your server's IP address on the port you specified (8080 in this case). From here, you can install and set up Drupal as you usually would, using the database information you specified in the Docker Compose file.
Managing the Stack
Portainer makes managing your new Drupal stack easy. You can monitor the status of your services, check the logs for any issues, stop the stack if necessary, or even remove it completely. If you need to make changes, you can update the Docker Compose file and redeploy the stack in Portainer.
In conclusion, with Docker and Portainer, you can deploy and manage a Drupal development or staging environment efficiently and cost-effectively.
Summary
By leveraging Docker and Portainer, Exemplifi can more effectively manage our resources, cut costs, and streamline the development process for large websites. The flexibility and efficiency gained make this combination an effective solution for our development and staging environments.