Simultaneous Development in a Single Webflow Website

Introduction
One of the biggest problems that plagues Webflow developers is not being able to have multiple team members work in real-time on their Webflow builds. Here is our solution to help solve it. The solution involves setting up multiple environments for each developer, managing workflow with daily backups and merges, and handling specific Webflow components like styles, symbols, pages, and assets.
The Challenge with Simultaneous Development in Webflow
As a developer of enterprise websites, we work with mid to large enterprises to build their websites rapidly. We started work with a client that had purchased the Enterprise License Plan of Webflow. The objective was to rebuild their redesigned website within 6-8 weeks. This necessitated a large development effort that comprised the following team:
- 2 Front-End Architects
- 2 Back-End Developers
- 1 QA
- 1 DevOps and SEO-Focused Engineer
- 1 Project Manager
With such a large team, it was imperative that the development team be able to work and build things simultaneously within the Webflow development environment. However, this is not feasible in Webflow currently due to their product constraints.
When the first developer logs into the environment as a designer, they are able to work without constraints.
However, when the next developer logs into the environment, they are severely constrained and will not be able to do any parallel development. They are limited to only editing content.
This causes a huge bottleneck whereby only one developer is productive at any point in time. This would mean that the project timeline would be stretched out by at least three-fold. Clearly this was unacceptable to the client and would have a massive impact on the project margins as well.
Our Process-Based Solution
To circumvent the Webflow product constraints, we came up with a process-based solution.
Setting up the multiple environments
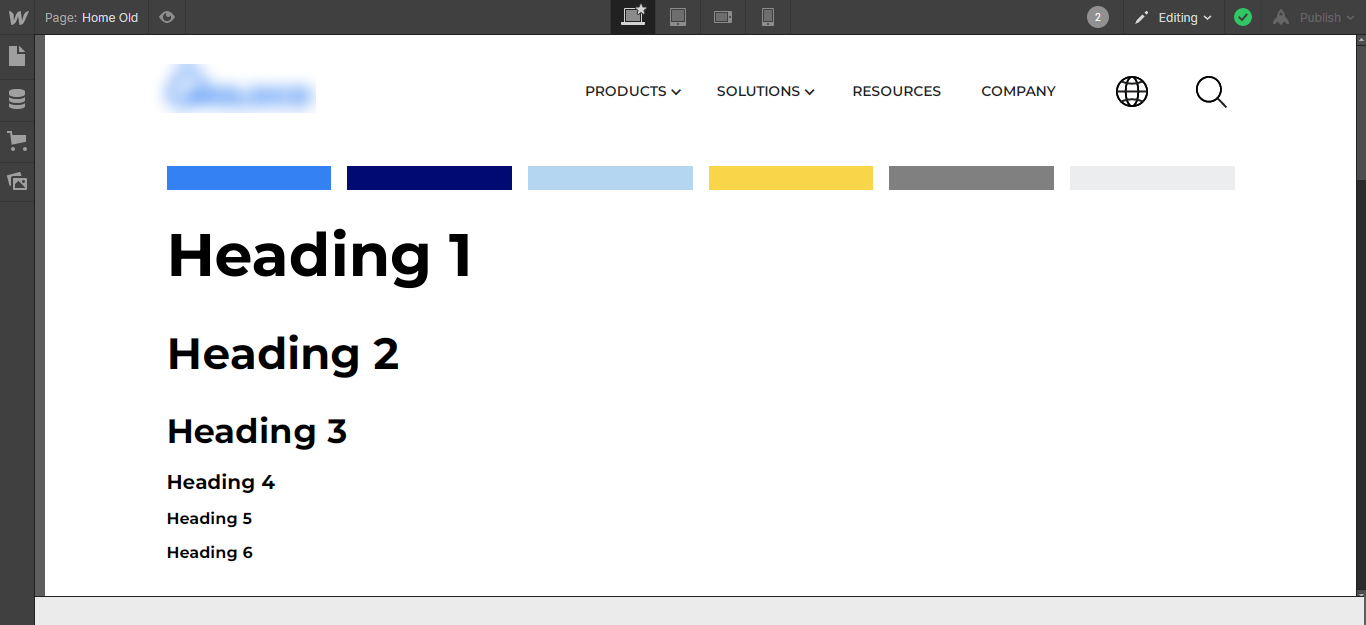
The first step was to create a unique environment for each developer on the team, while designating a particular instance as the main stage environment. See image below
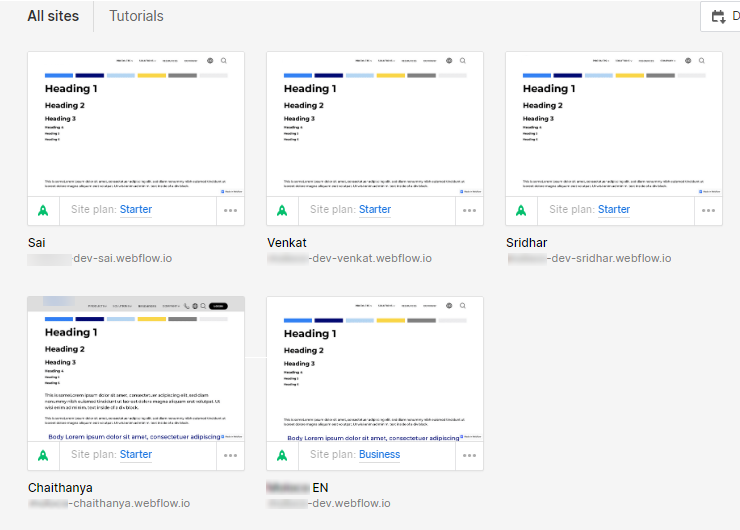
As you can see, there are several instances named after the developers (Sai, Venkat, Sridhar etc). The “EN instance was designated to be the primary staging environment. Fortunately, the client had purchased the Enterprise Webflow License, so there were no additional costs to procuring these multiple development environments.
The Development and QA Workflow
During the day, each developer would work on their “local instance” as described earlier. There would be one developer however, that would work on the main staging environment – depending upon the criticality of the tasks for the day. (More on this later) Simultaneously, a content editor would also be able to work on the main staging environment, because Webflow permits this.

At the end of the work day, we would execute the following steps:
- We take a backup of the main environment
- Each developer manually merges their work for the day into the main environment. This would be done sequentially, so as to avoid code conflicts.
- The exact details of the merges (styles, assets, pages, symbols, collection entries etc) are dealt with in the next section.
- After the merges are completed, we would publish to the domains
- The QA team would then be able to start testing them.
At the beginning of the next day, we would execute the following steps (see image below):
- Take backups of each local instance
- Duplicate the main environment into the local instance (thereby overriding the entirety of the local instance) This step ensures that each local instance gets the entirety of the work done the previous day.
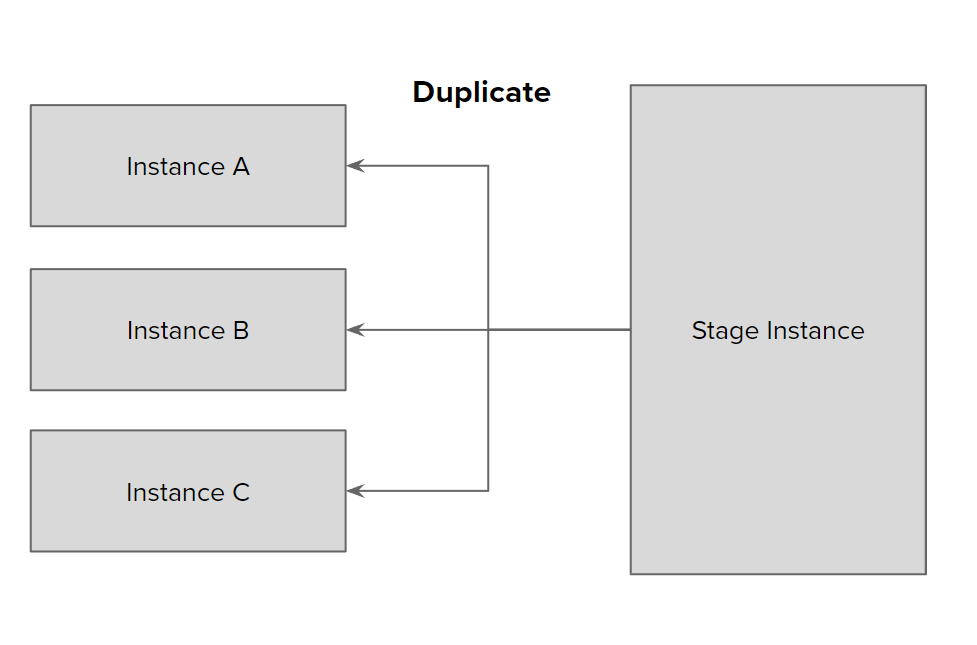
https://enterprise.exemplifi.io/3KCwsUp
This workflow succeeded in achieving the following objectives:
- Every developer was fully productive during the work day
- There was a marginal overhead (1 hour per developer per day) involving in merging code
- The QA team was productive because they worked with daily code pushes
- The DevOps team was able to execute this workflow with < 30 minutes of effort daily
- All bottlenecks were removed
Detailed Workflow for Managing Specific Webflow Components
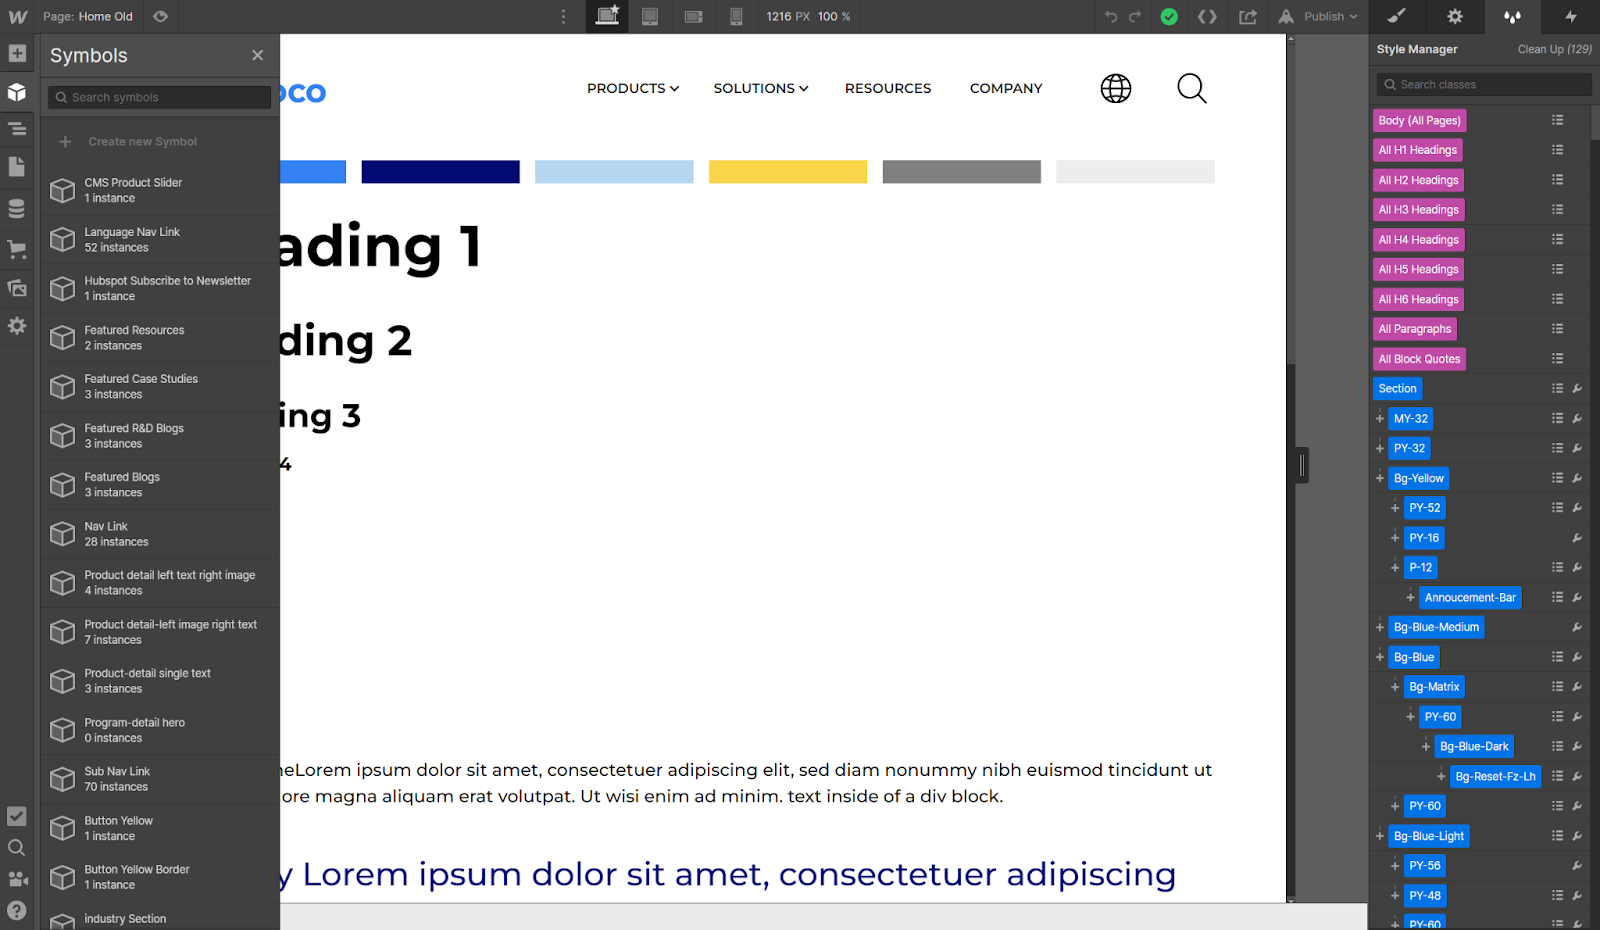
Styles: Creating New and Editing them
The Style panel, located in the Designer, is where you can control and style every element in your project. Whether you want to change an element’s layout, background color, or typography — you can do it all in the Style panel.
- Developer adds a new style to the elements, section, container…etc and saves it as a individual classes, combo classes..etc
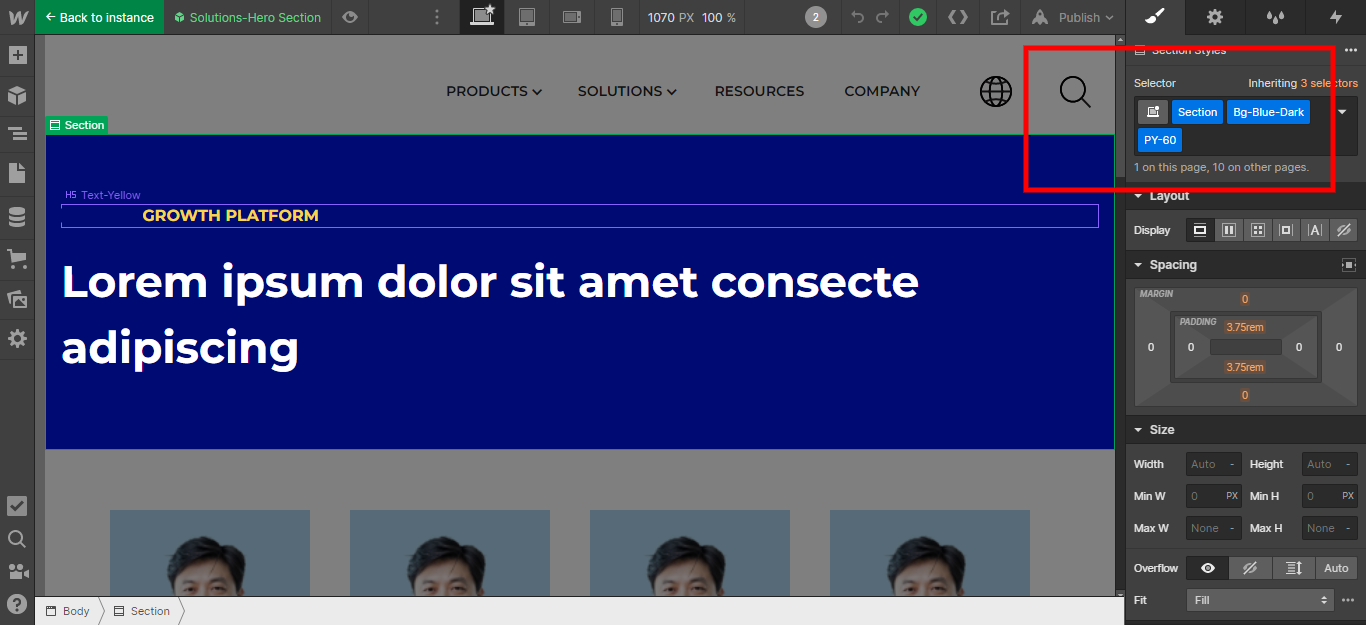
- For example in local instance, the above screenshot Bg-Blue-Dark class is being applied for background color and PY-6o is for padding-top and bottom
- To merge this section in to the main Development instance we have to right click on the particular element or section and click on copy like in the below screenshot
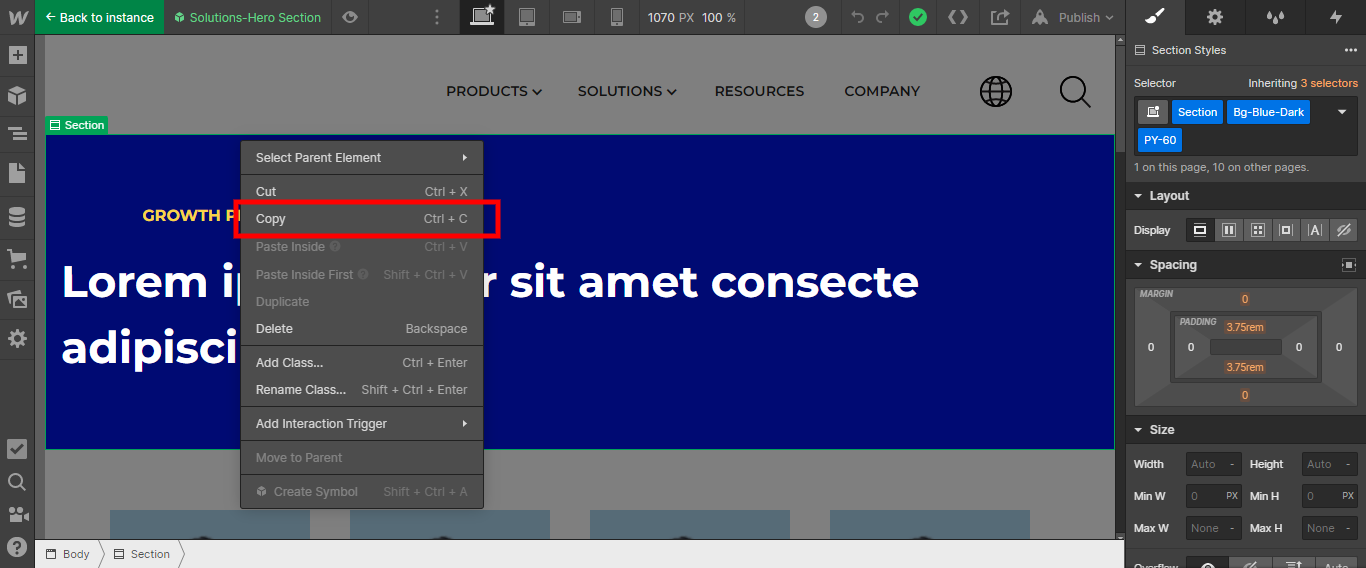
- While merging the elements into the main/dev instance we have to watch out on duplicate classes. For example if an already existing class is there it will create a duplicate like BG-Blue-Dark-2. In this case, we have to delete the duplicate class and assign the right class to it.
Symbols: Creating New and Editing them
Symbols allow you to turn elements and their child elements into a reusable layout — update and edit Symbols in a single place to avoid revising each recurring layout individually.
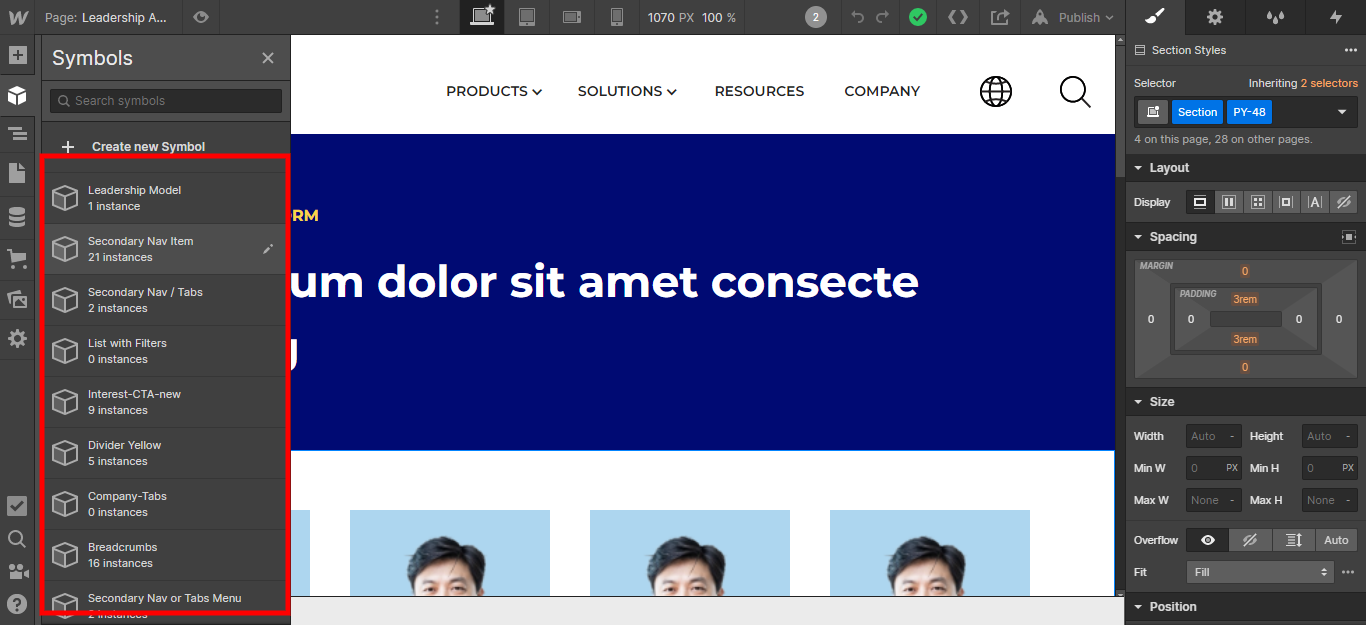
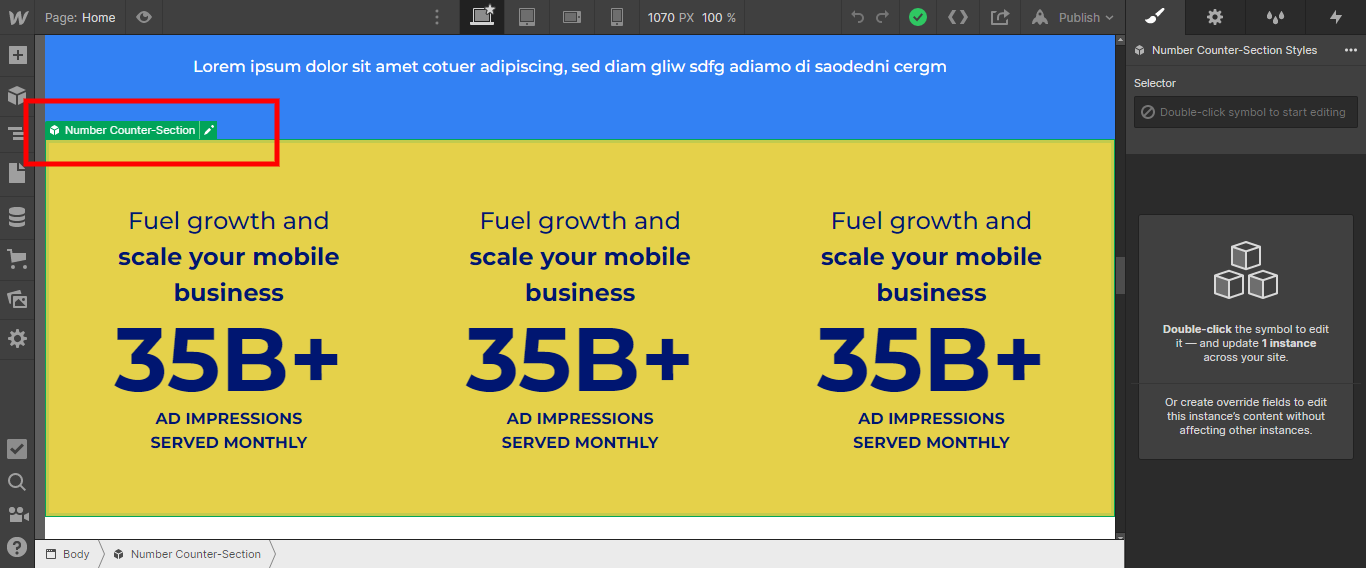
- For example, there is a number counter section a user might want to use in different places with a different text
- When a user right clicks on the particular element/section you will get an option to create a symbol as shown in below screenshot
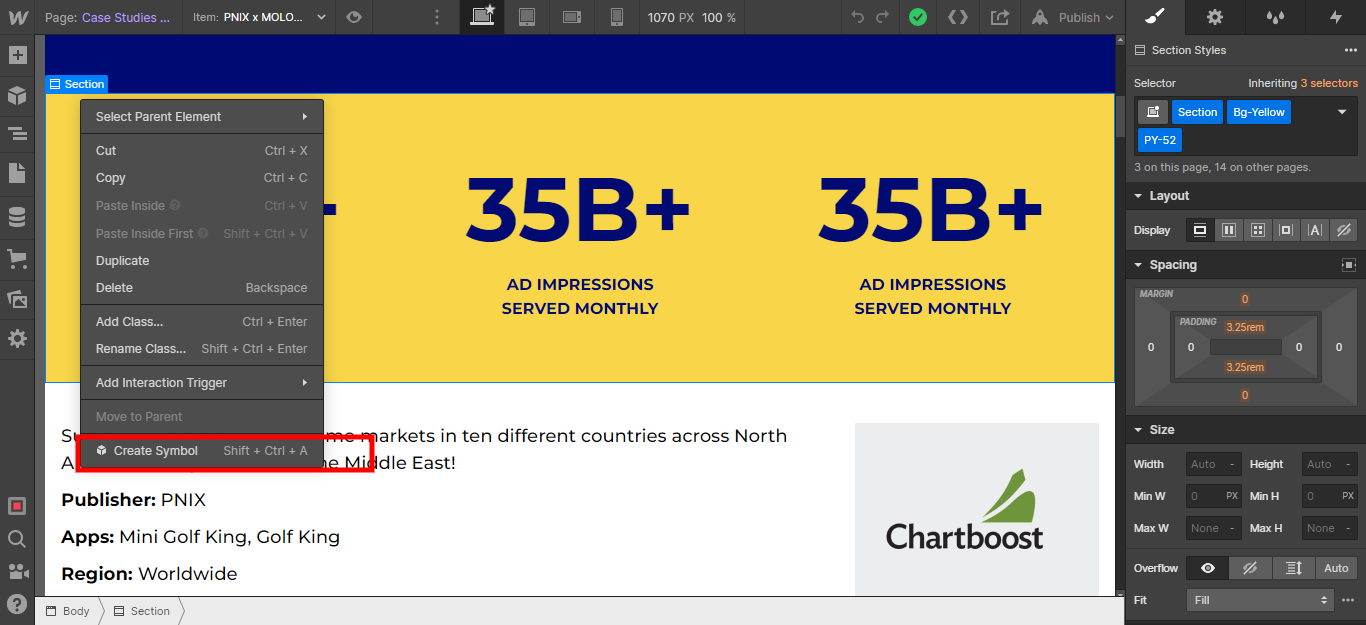
- Right away after clicking on create symbol, a pop-up to give a name/title will appear. For example developer given name is Number-Counter-Section. Then it is converted as a symbol where it is reusable all over the website. To identify it as symbol the element/section is outlined in green color like shown in the below screenshot
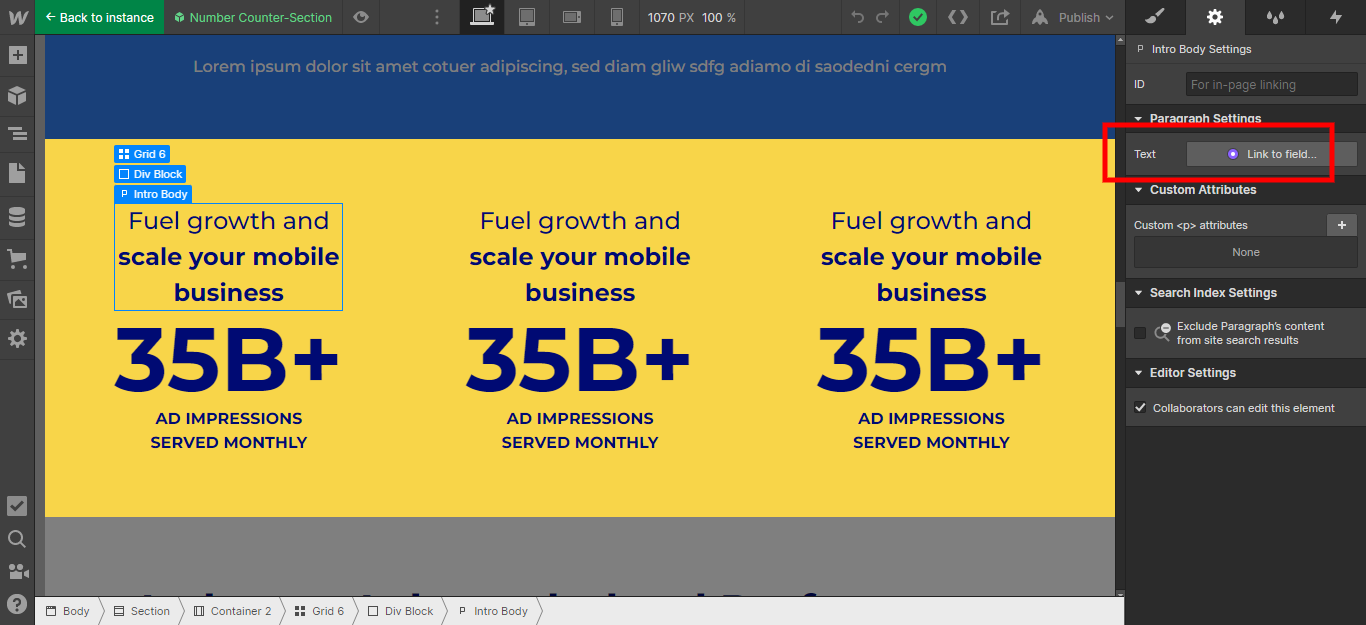
To make a symbol with overridable fields, the user has to right click on gear/settings icon on right side of the designer panel and click on link to text field like shown in below screenshot
- To merge Symbol in to the main Development instance we have to right click on the particular element or section and click on copy
- Note: Symbols can’t be migrated to main/dev instance, though if we copy it as symbol it won’t be copied as symbol, it will unlink and migrated as normal element/symbol
- While merging the Symbols though it will be unlinked into the main/dev instance, we have to watch out on duplicate classes. In this case, we have to delete the duplicate class and assign the right class to it.
Pages: Creating New and Editing them
The Pages panel shows you the structure of your website: the pages and folders that house these pages. Here, you can perform a variety of operations such as creating and organizing pages and folders and changing page settings.
- Developer creates a new page in the Pages panel by clicking the Create new page icon and organizes the structure by placing sections/symbols/elements.
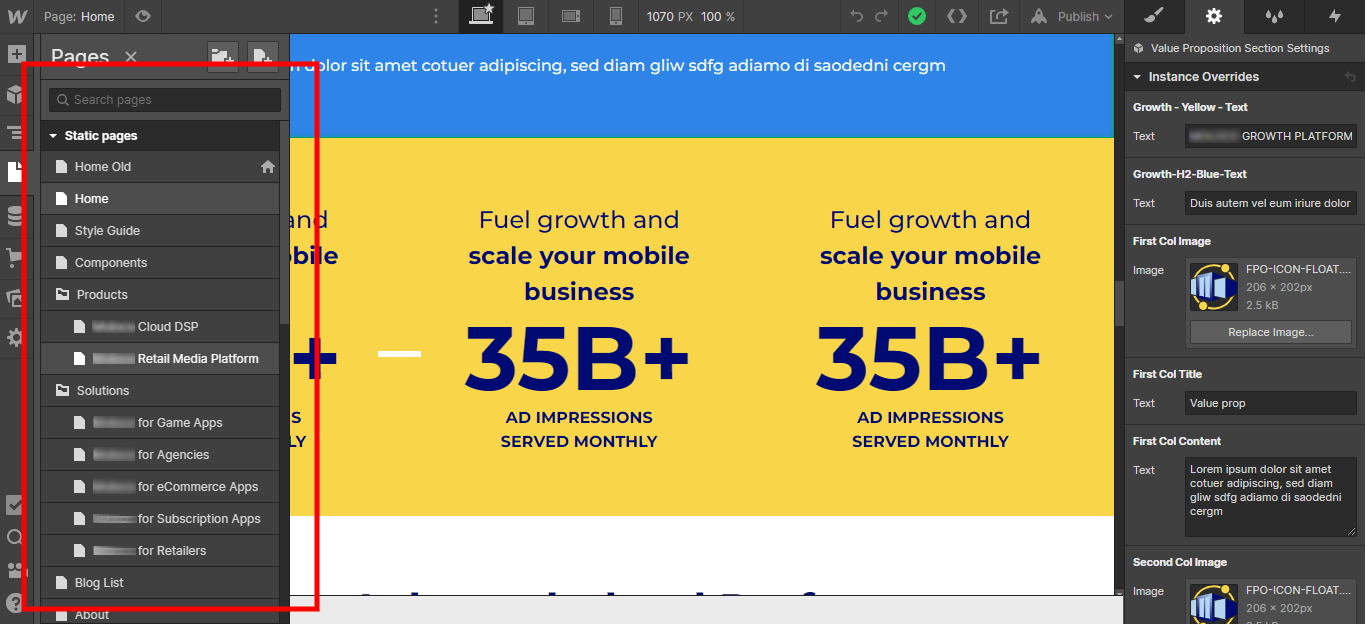
- Developer has an option to create folders and put pages under it, for example products and solutions folders as shown in the below screenshot
- Unfortunately, there is no way we can export/import the pages and merge with the main/dev instance. We have to repeat the same process and add sections/symbols to that page.
Collection Entries
Collection items are database records in a Collection, like a single blog post, an author, or a product.
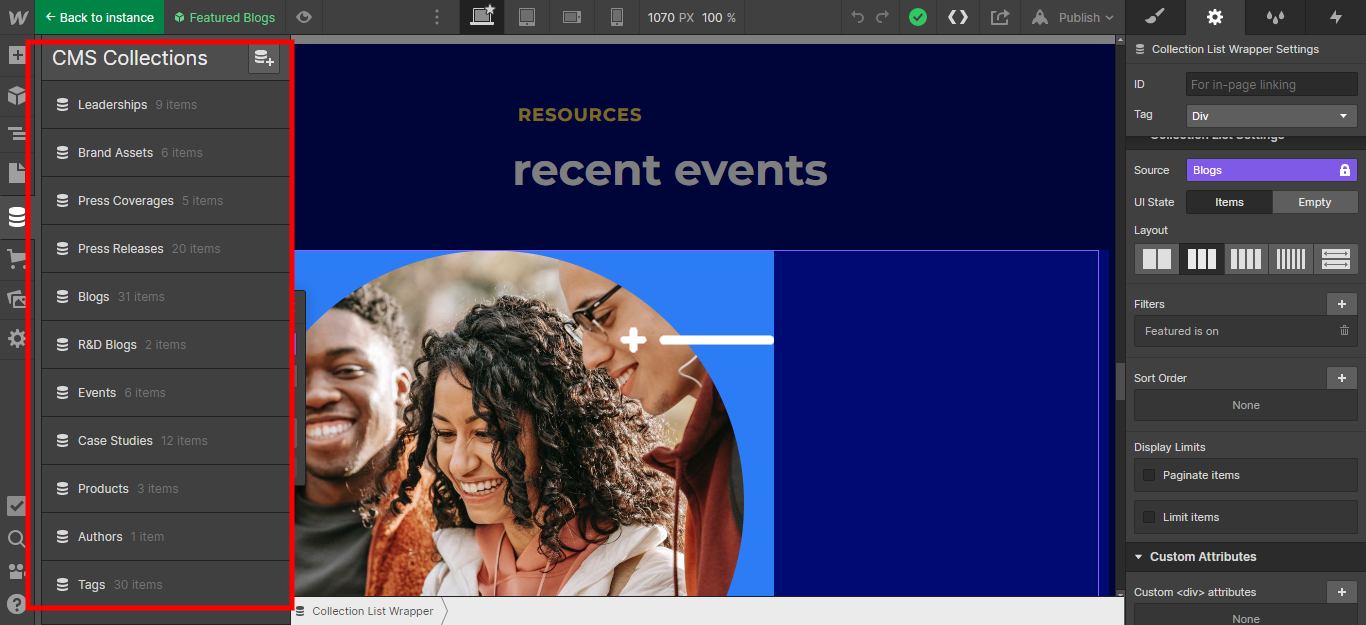
- We use the Collection list element to display the different collection entries like Blogs, Leaderships, Products etc, as shown in the image above.
- While migrating the collection list from the local instance to the main, the dynamic data tends to unbind. This can be a very time consuming process to redo again and again. Hence the developer creates the collection entries directly in the main instance which helps save valuable team effort.
- When a collection list is created in Webflow, for example Blogs ( screenshot below ) , it locks the source list. If we want to add more items to the list, we would need to first unbind the list and create a new one for re-usability.

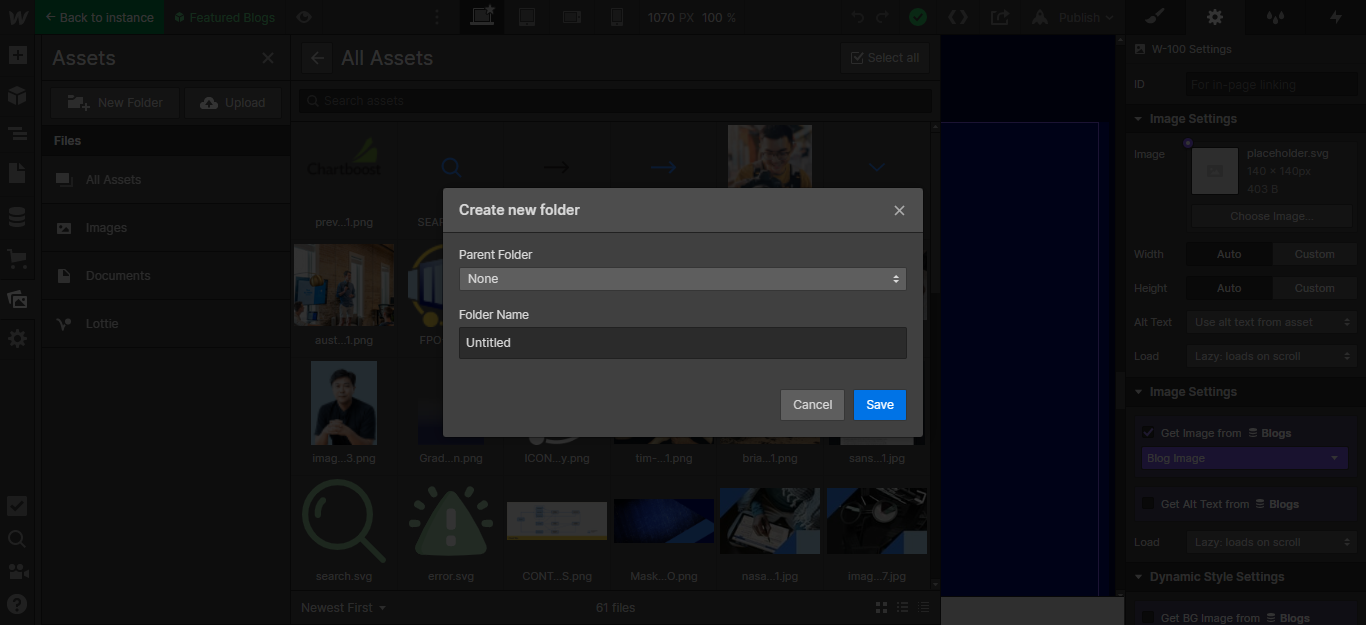
Assets: Creating New and Editing them
Upload and manage all your website’s assets in the Webflow Designer.
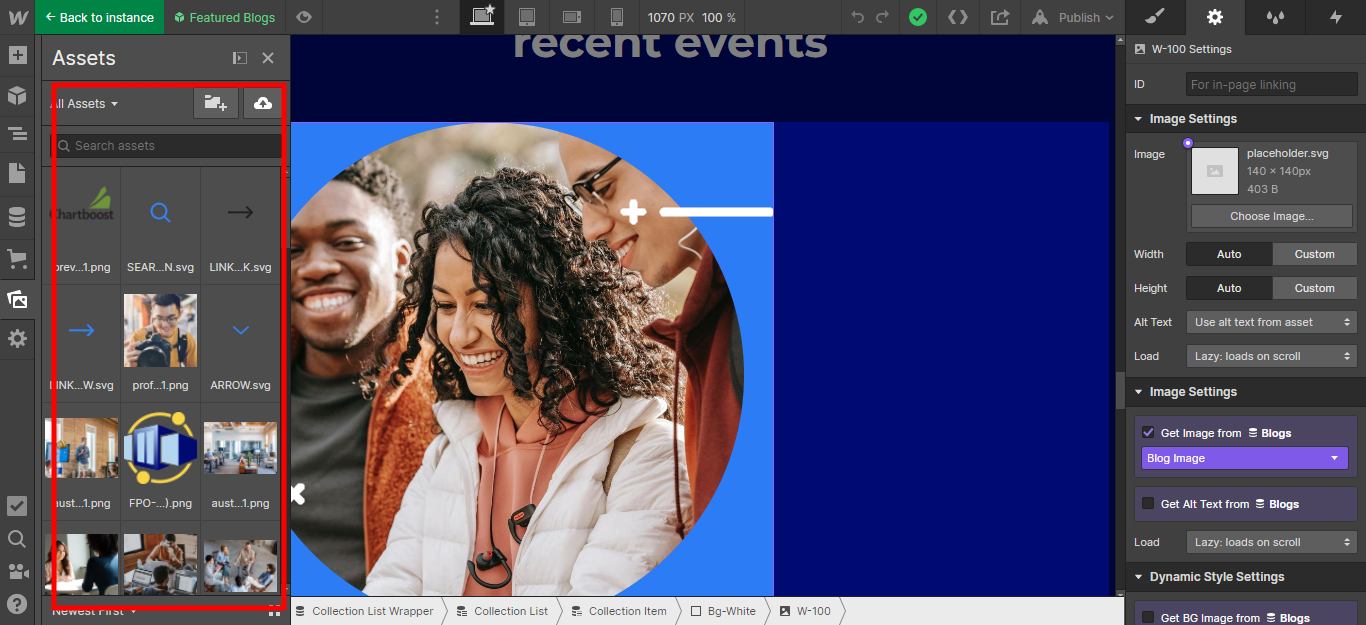
- When the developer copies any symbol/element from the local to the main instance, all of the assets are automatically copied over aswell. Which saves a lot of time.
- We can then easily create folders and organsie the asset library.
Summary
For teams to simultaneously work on Webflow can be tricky. In this article we have shared our strategy and solution for large teams to collaboratively develop a Webflow website incorporating styles, collections, symbol, pages and assets. What would earlier be a sequential process of development can now be a converted in a parallel development model on Webflow allowing for real time collaboration.
If you liked this insight and want more updates, Sign up for our monthly Exemplifi Newsletter below.