How to integrate Netlify CMS functionality with Nuxtjs

Introduction
The capabilities of Netlify CMS can be leveraged after integration with VueJs, a front-end framework, and NuxtJs, another front-end framework on top of VueJs which provides server-side rendering (SSR). Read till the end to dive deep into the integration process.
The Client Use Case
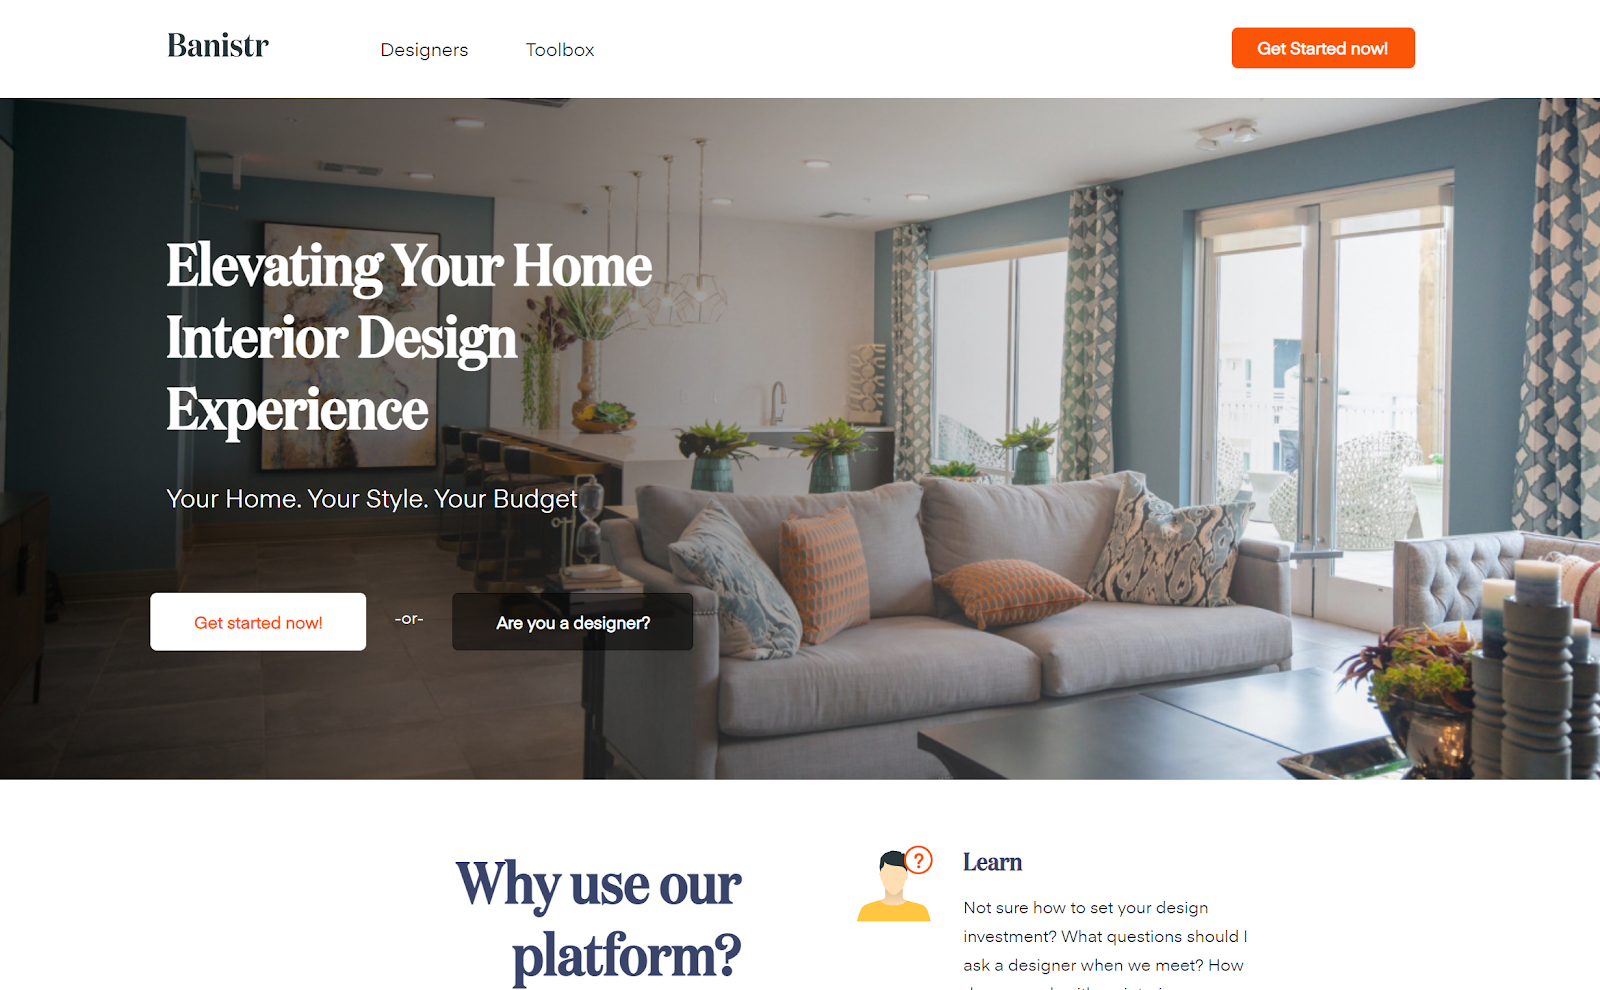
Our client Banistr is a startup marketplace for interior designers. Their vision is to let SME’s scale their outreach to millions of users including interior designers. Their website had to be high-performance built on a modern tech stack. In addition, the content created might be syndicated to multiple different sites, mobile apps and such.
Heading into a modern headless CMS tech stack along with reactive JS framework, we’d set up something that avoids traditional CMS approaches.
After assessing multiple options, we identified the following tech stack:
- Contentful - Headless CMS
- VueJS - front-end JS framework
- NuxtJS - A front end framework built on top of VueJS which provides server side rendering (SSR)
Nuxt.js is an open source web application framework that is built on top of VueJS, NodeJS, Webpack and BabelJS. It simplifies the development of universal or single page Vue apps by providing basic web development features, like middleware, routing, components, storage persistence and layouts. NuxtJS opens up possibilities to consume API from Contenful and display the content in the frontend using VueJS templates.
As we further analyzed the site, it was evident that most of the content rarely changes, except for Blog articles. This gave us a way to think in other directions also like NoSQL storage or plain Markdown/YAML/JSON storage. Heavily seen and used in Github pages this format is quite well known and popular, an ideal example is Jekyll also a Headless CMS, which works on plain simple file based storage mechanisms like (Markdown, YAML or JSON).
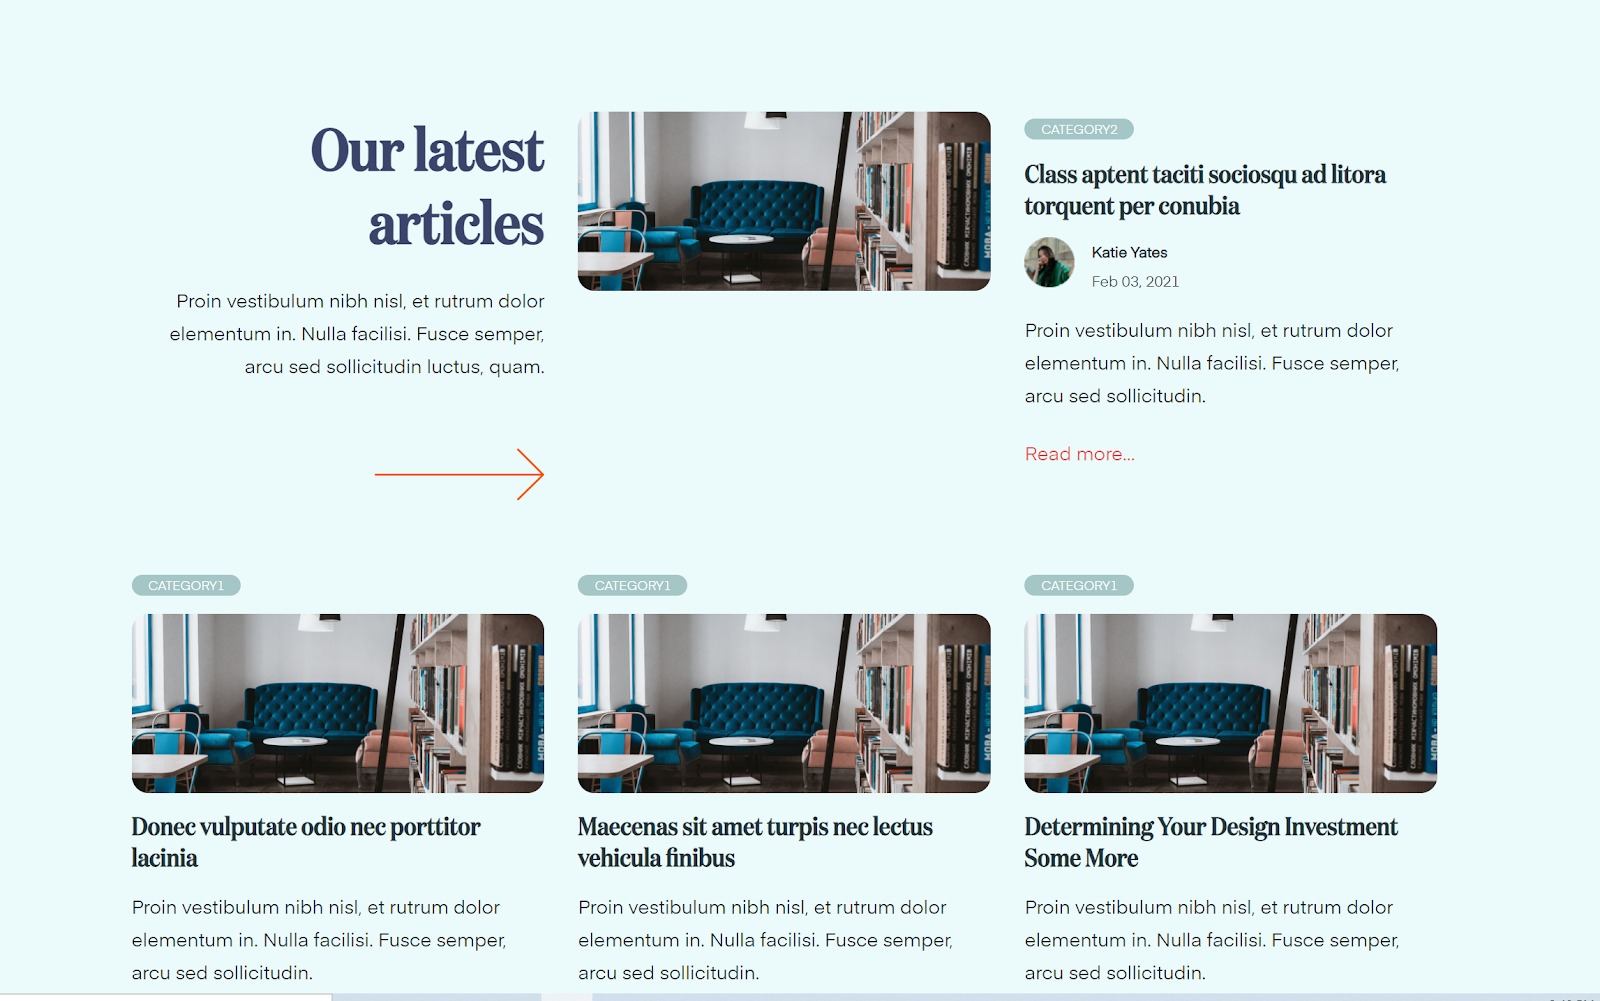
As we observed Contentful was better suited for storing dynamic content such as blogs (shown below)
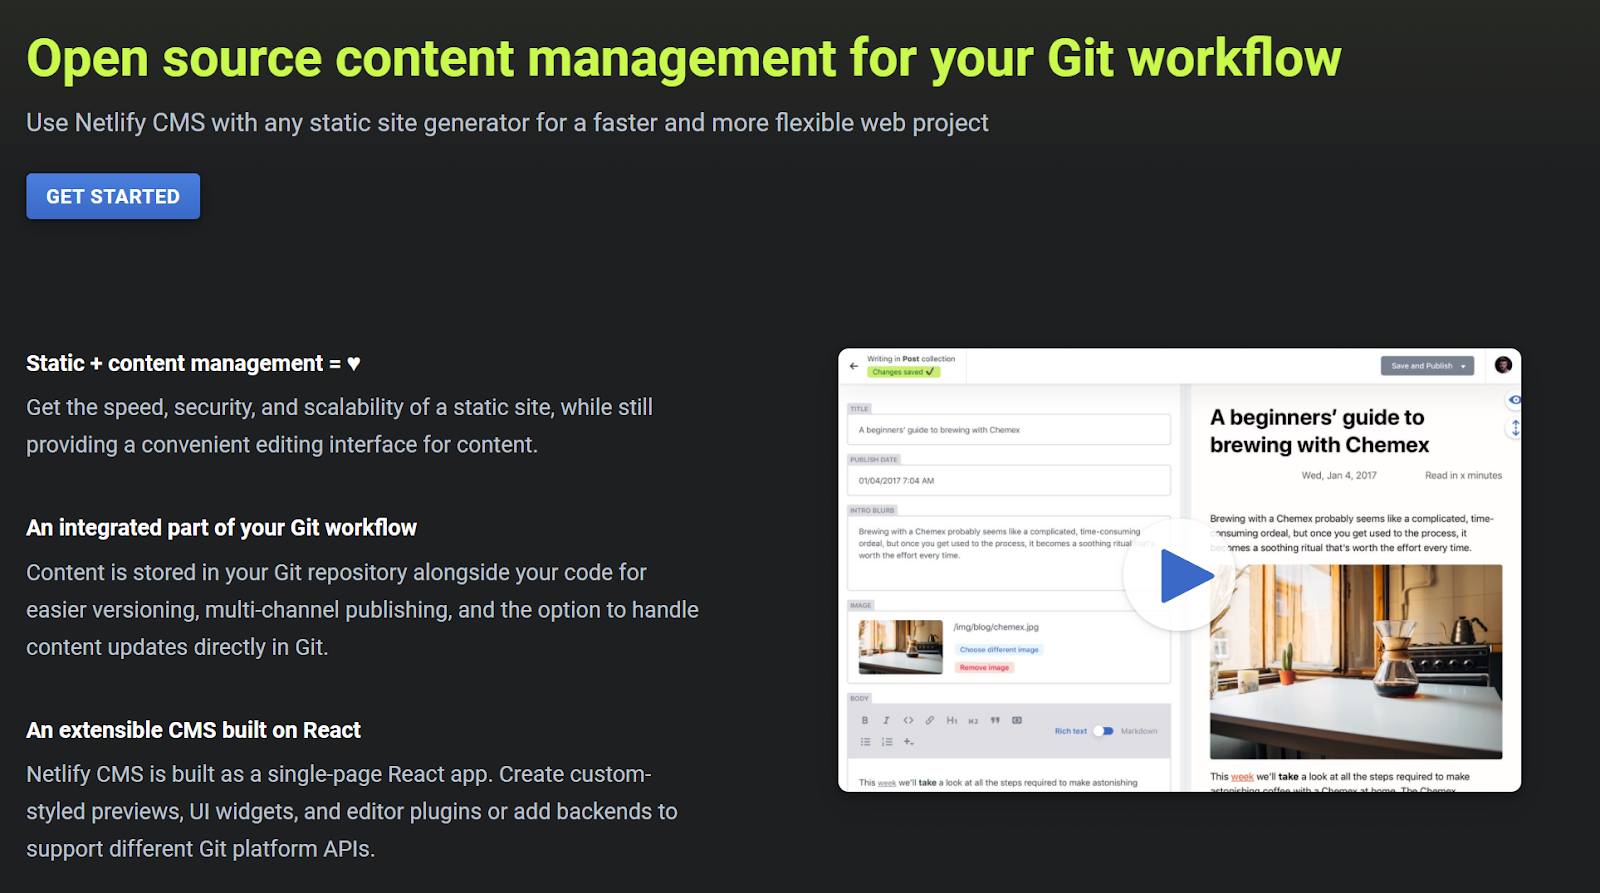
At the same time, we did not wanted Banistr marketing team to reach out to the developers anytime they needed to change this static content. A solution that was more light-weight than Contentful seemed prudent. This is where we used NetlifyCMS - it takes the complexities out of a full blown CMS adequately, without complicating the content manager experience.
NetlifyCMS can be built as a single-page app that presents a clean UI, styled previews, UI widgets, and editor plugins for managing the content. The CMS content definitions will be stored in the git repository along with our code as Markdown/YAML or JSON.
In this post, we discuss how we leveraged the NetlifyCMS capabilities and integrated it into NuxtJS and Contentful tech stack.
Step 1: Creating a NuxtJS project
Use the create-nuxt-app plugin to create a nuxt project.
npx create-nuxt-app
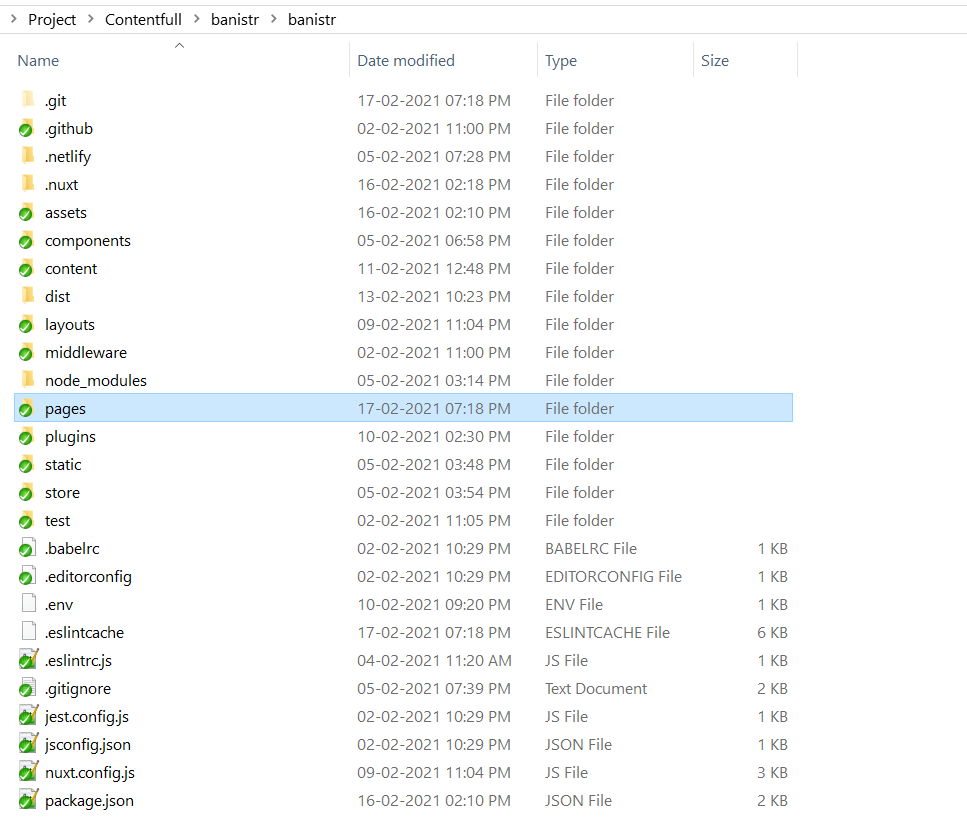
This command will create the nuxt project with the following structure.
You can then start the Nuxt web server by running npm run dev which is equivalent to just nuxt command. If everything goes fine you can see the NuxtJS home page running in your localhost at port 3000.

Step 2: Integrate NetlifyCMS with NuxtJS project
Inside the /static folder create a new folder called /admin. Inside the /admin folder create two new files named index.html and config.yml

Add the following code to the index.html
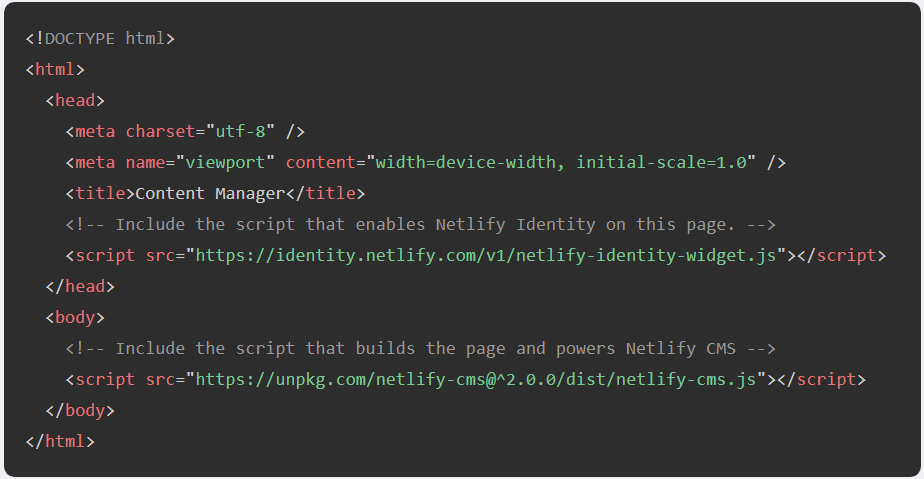
Here index.html is the entry point for the Netlify CMS admin interface. This means that users can navigate to example.com/admin/ to access the admin side of NetlifyCMS. On the code side, it's a basic HTML starter page that loads the NetlifyCMS JavaScript file.
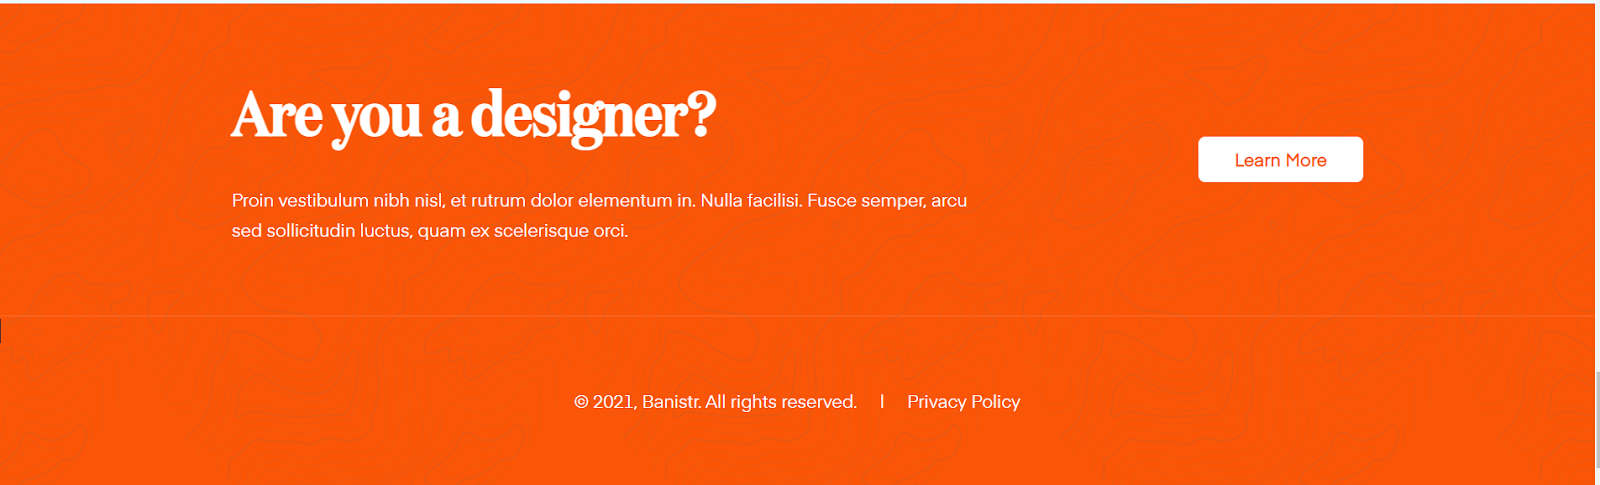
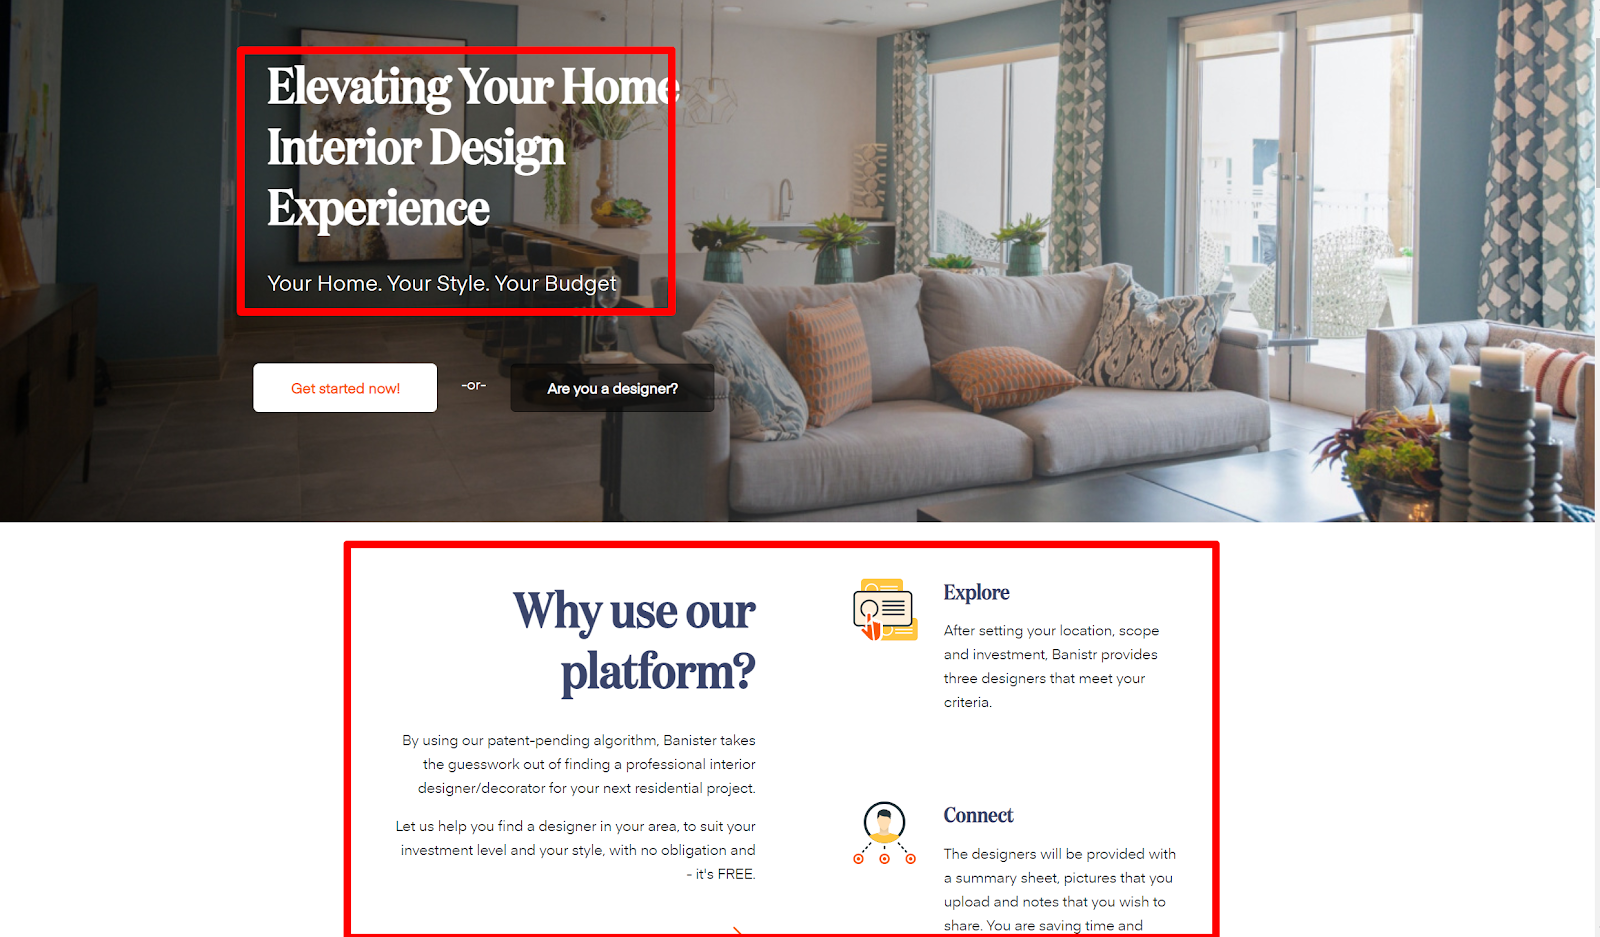
The config.yml, is the heart of your Netlify CMS installation. Our objective is to make the following website section CMS-editable :
Add the basic NetlifyCMS configuration as follows.
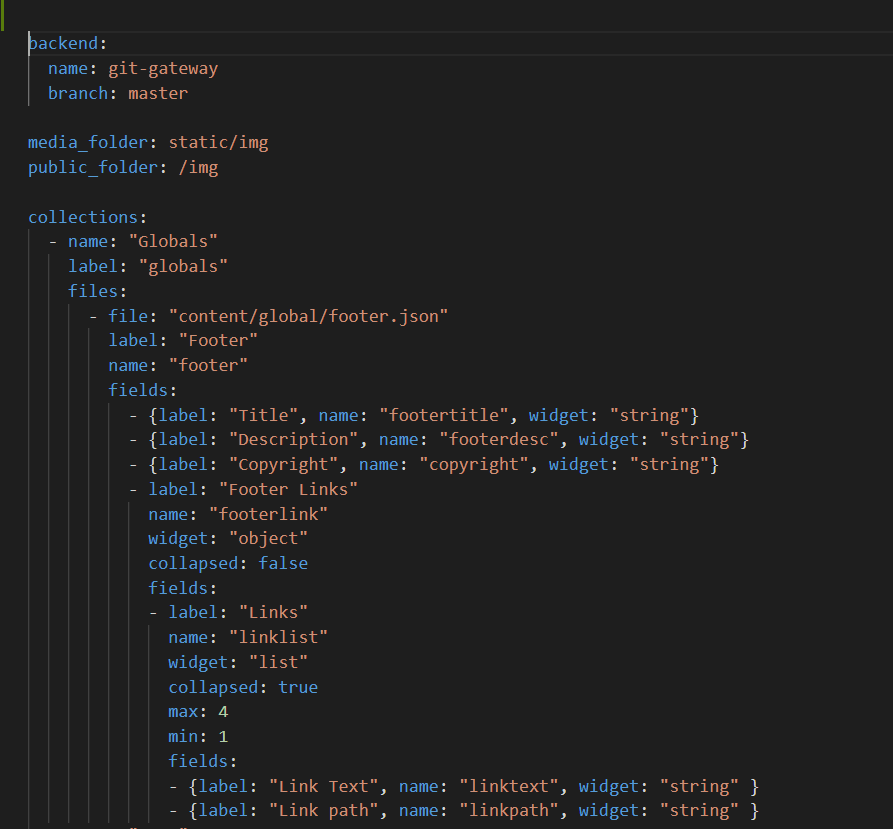
NetlifyCMS utilizes NoSQL approach just like MongoDB or Firestore and at the heart of it are collections, documents and fields. Inside a collection you can define fields which are constructed using YAML and these fields are then exposed in admin as editable fields. Think of it as your content definition but in plain text format. Now to access the CMS in our app navigate to the /admin and login in using your git credentials. Now the CMS dashboard should look like this:
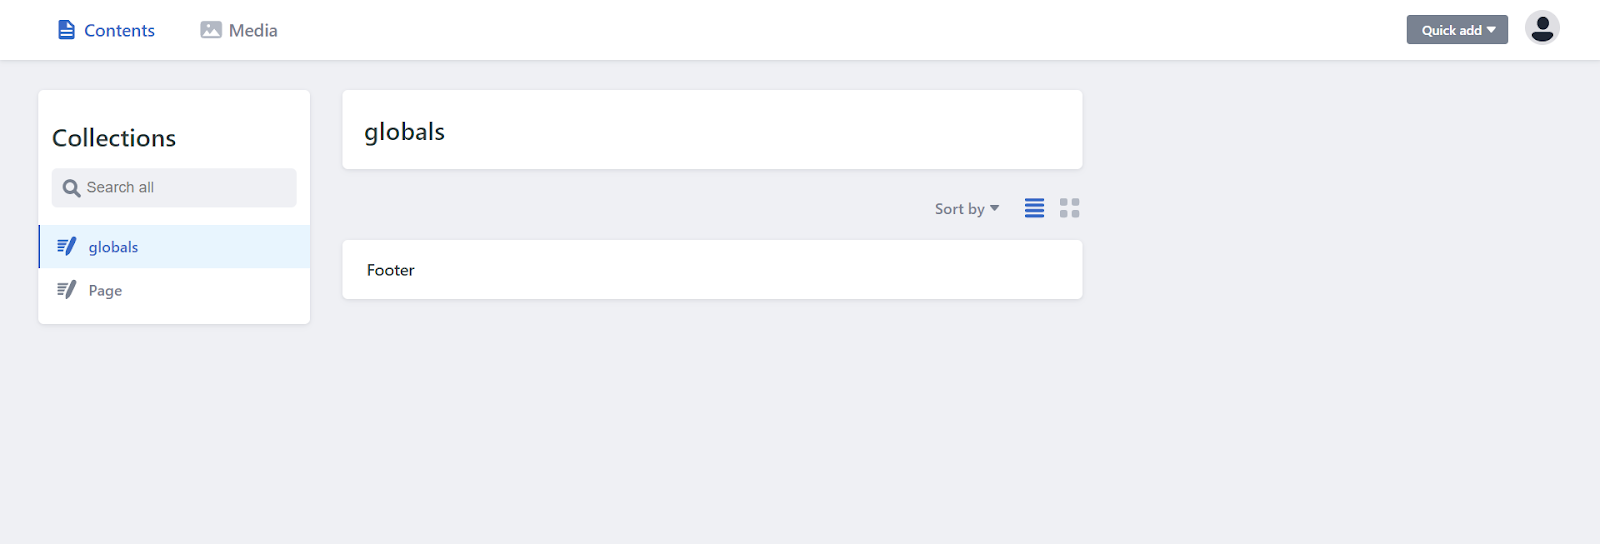
If you click on one of the collections created you can see the widgets added. These widgets are added to the collection through the config.yml file.
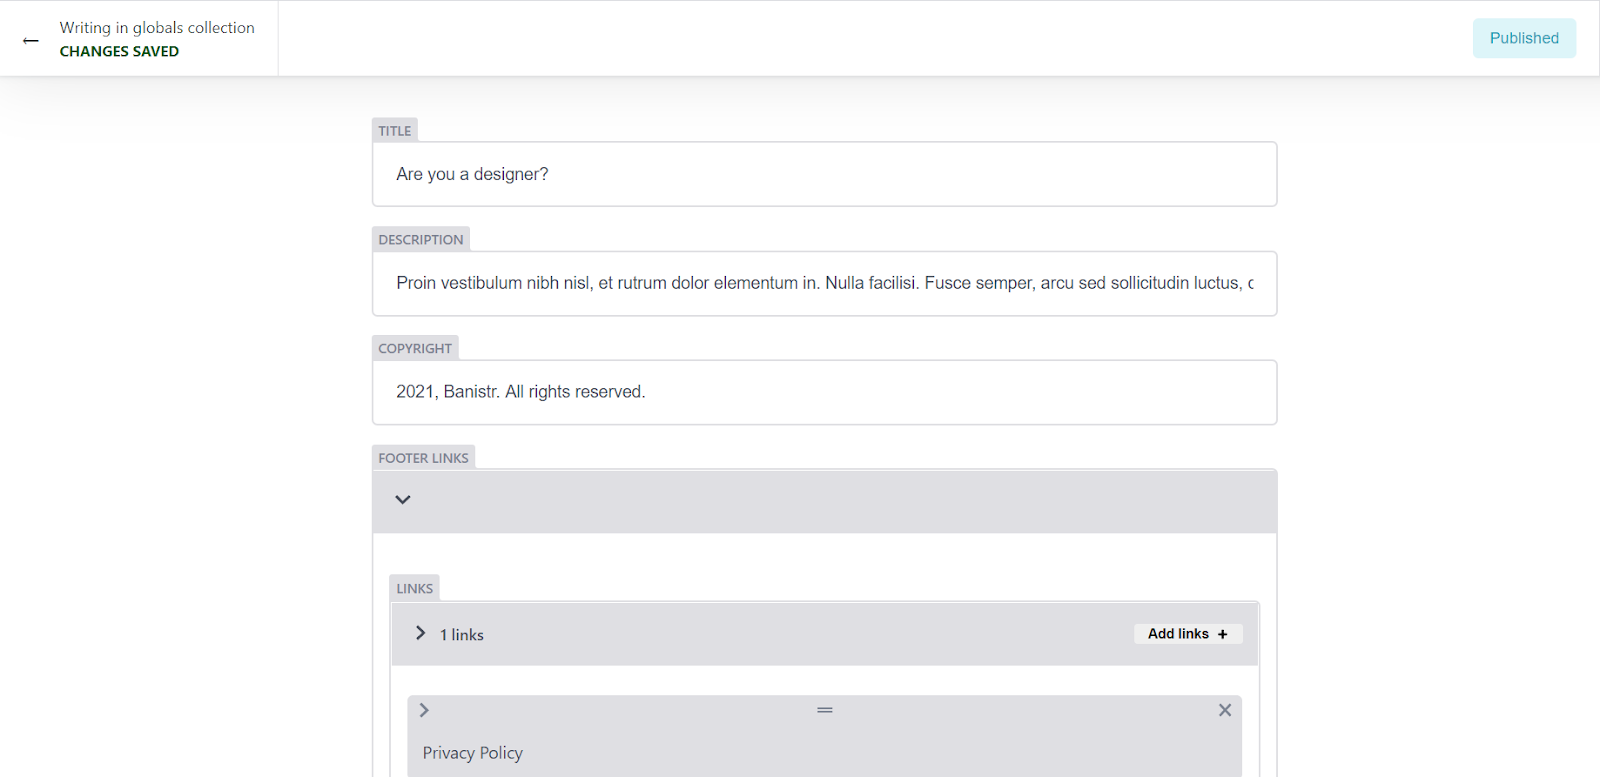
The data entered through these widgets are stored in JSON files inside the content folder and these content gets committed to the git repository along with the project.
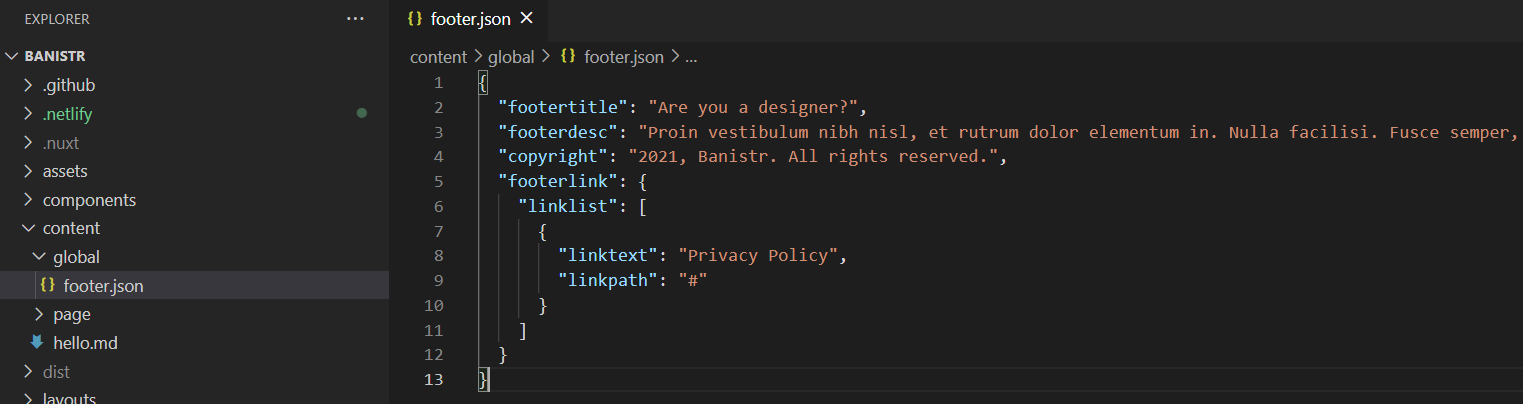
Now we need to display this content in our VueJS component. To do this we are using the asyncData function to get the JSON object from the JSON file and pass them to the Vue component as a property. Because it’s stored as JSON it’s fairly easy to read and manipulate it in Javascript.
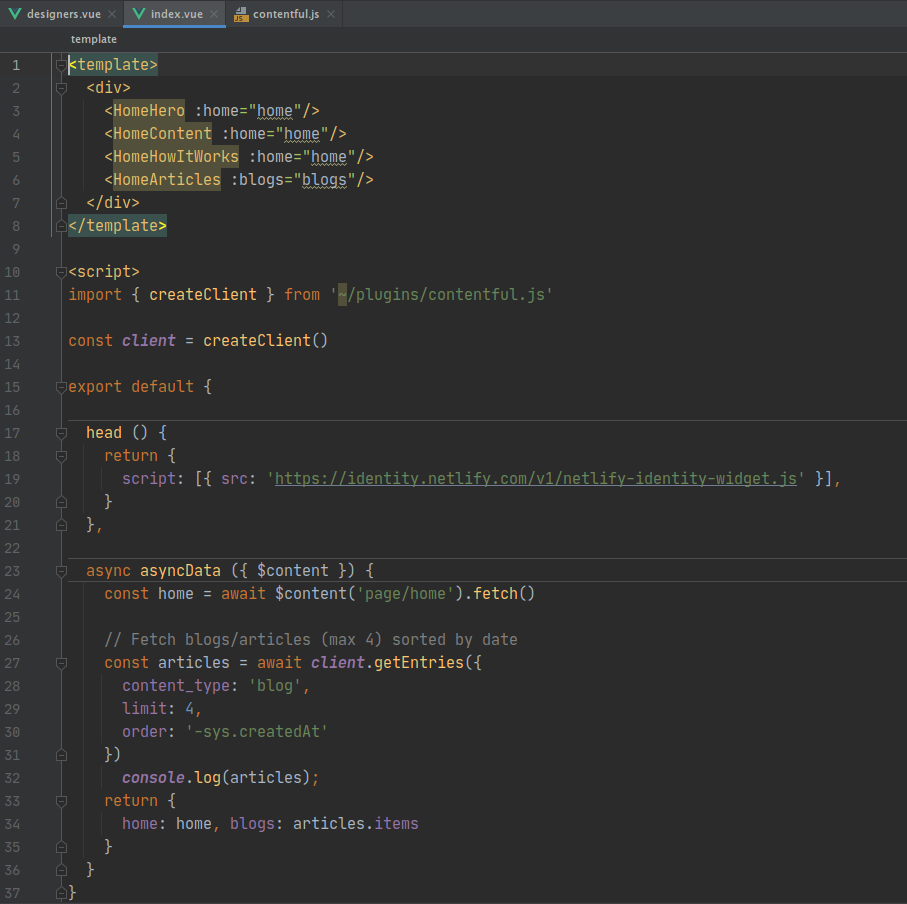
Now that the data is available and ready, it can be rendered in the front end as follows.