
Creating custom page types in Kentico

Introduction
A custom page type in Kentico involves different dimensions like fields, layout, transformations, and queries. Utilizing the above-mentioned dimensions for creating a custom page type for the Services use case for one of our clients Epiq Global is explained in detail in the post.
The Client Use Case
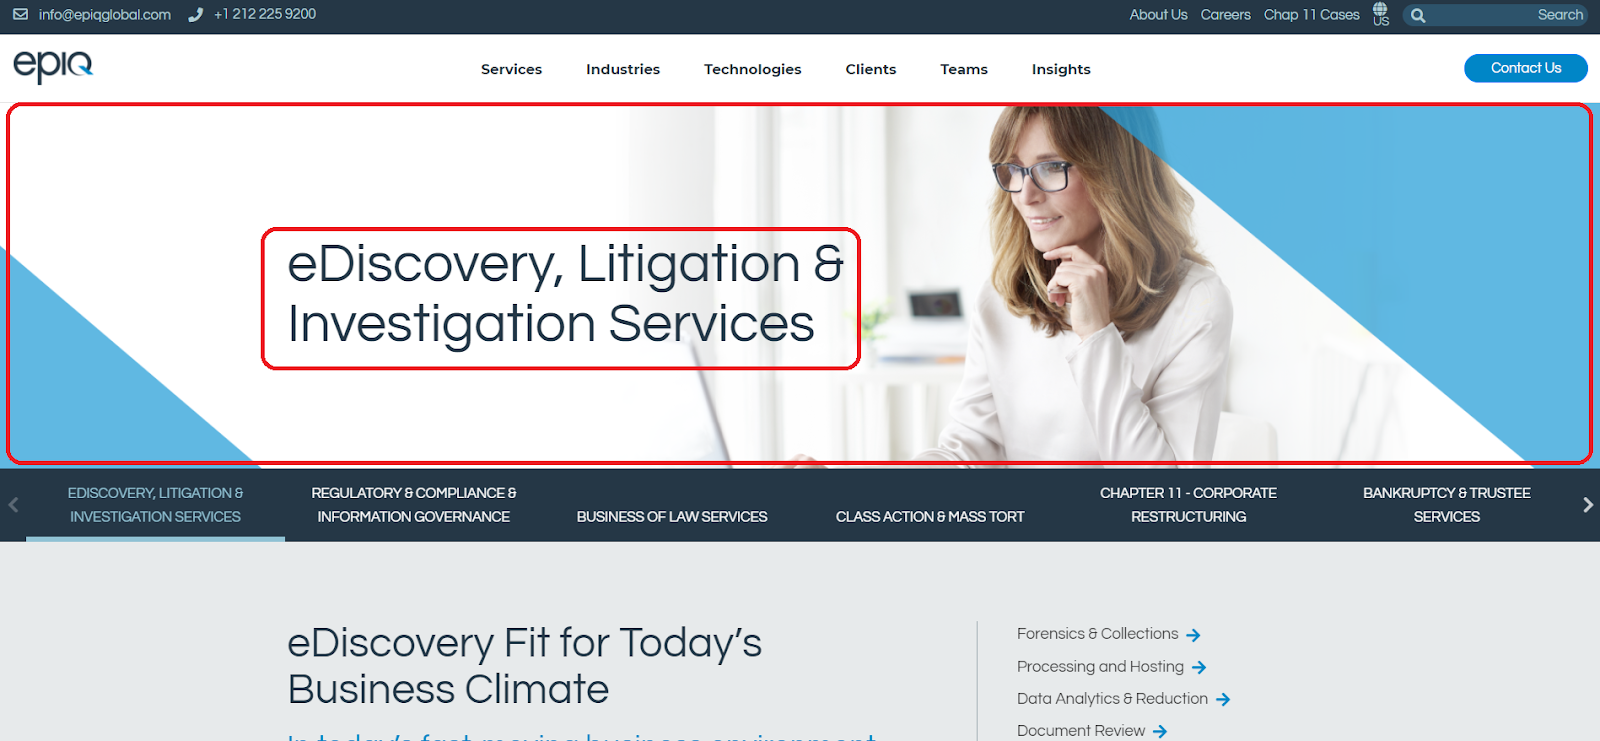
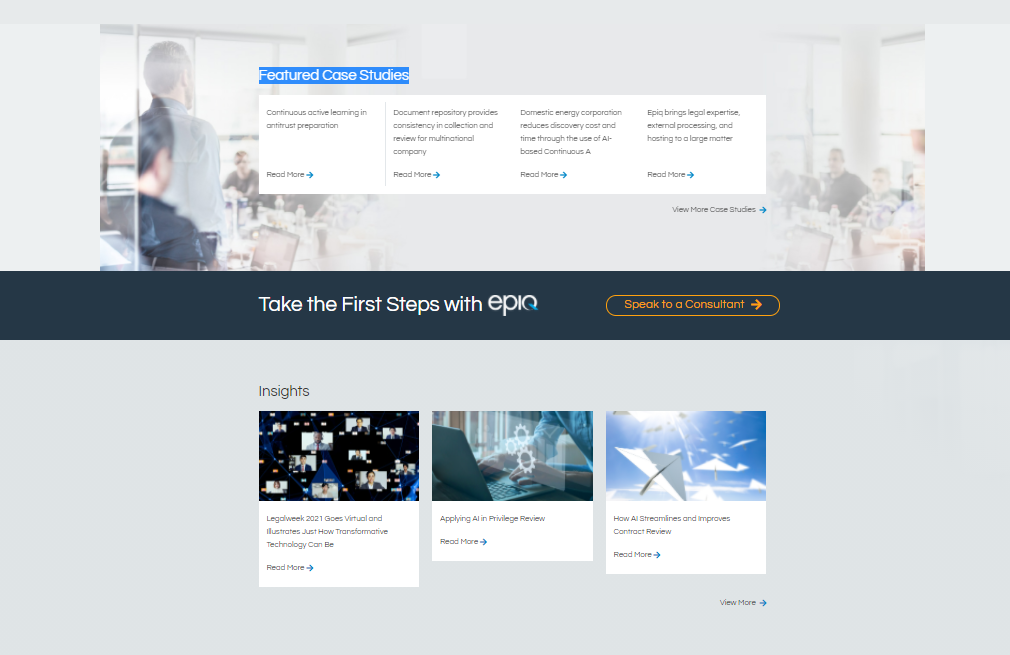
The www.epiqglobal.com website has several pages that describe the company’s services that they offer. Each of these services pages has a specific structure to the content. Specifically, we need to do the following things:
The Hero Unit has to be editable for the Title, Description and Image
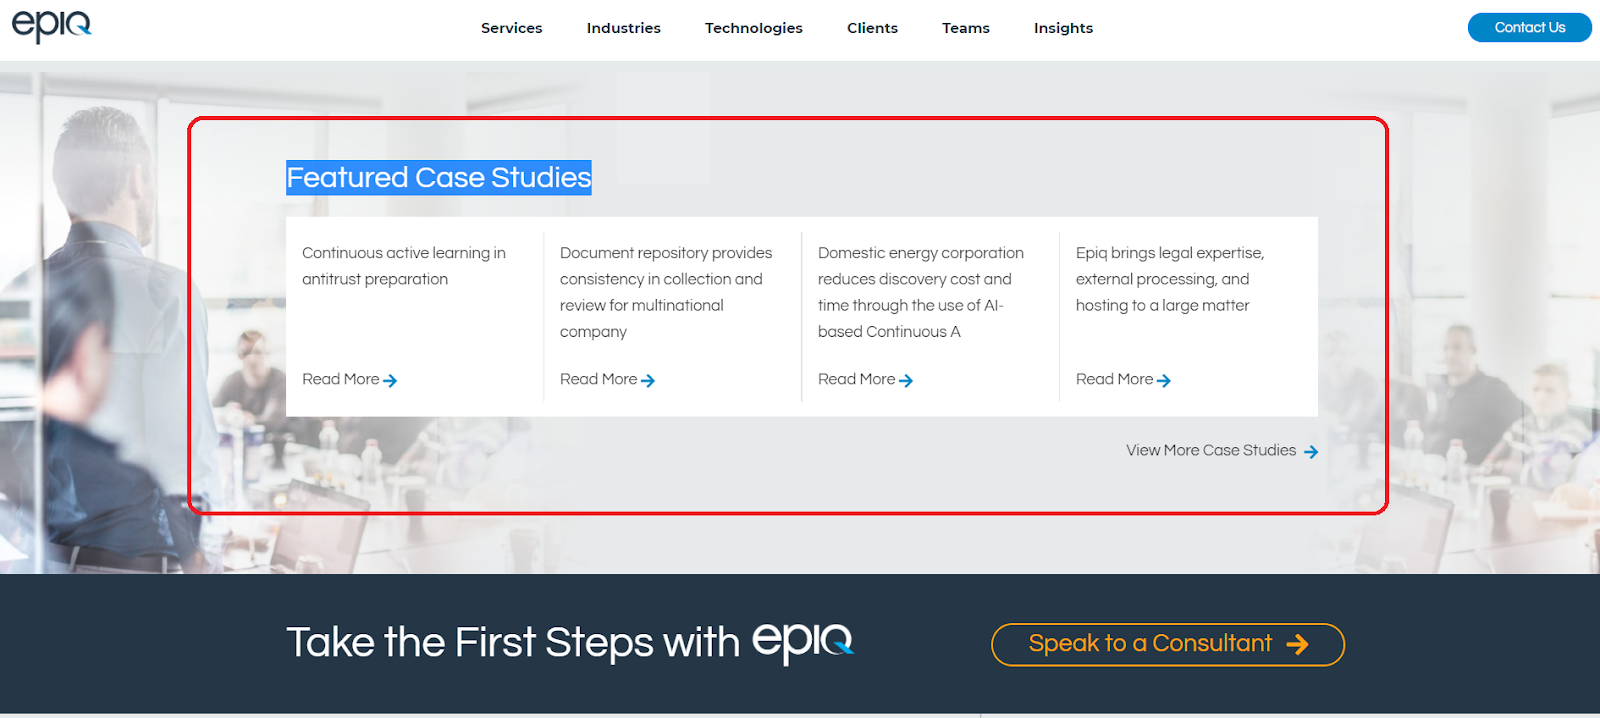
We have to be able to show Featured Case Studies for that particular service
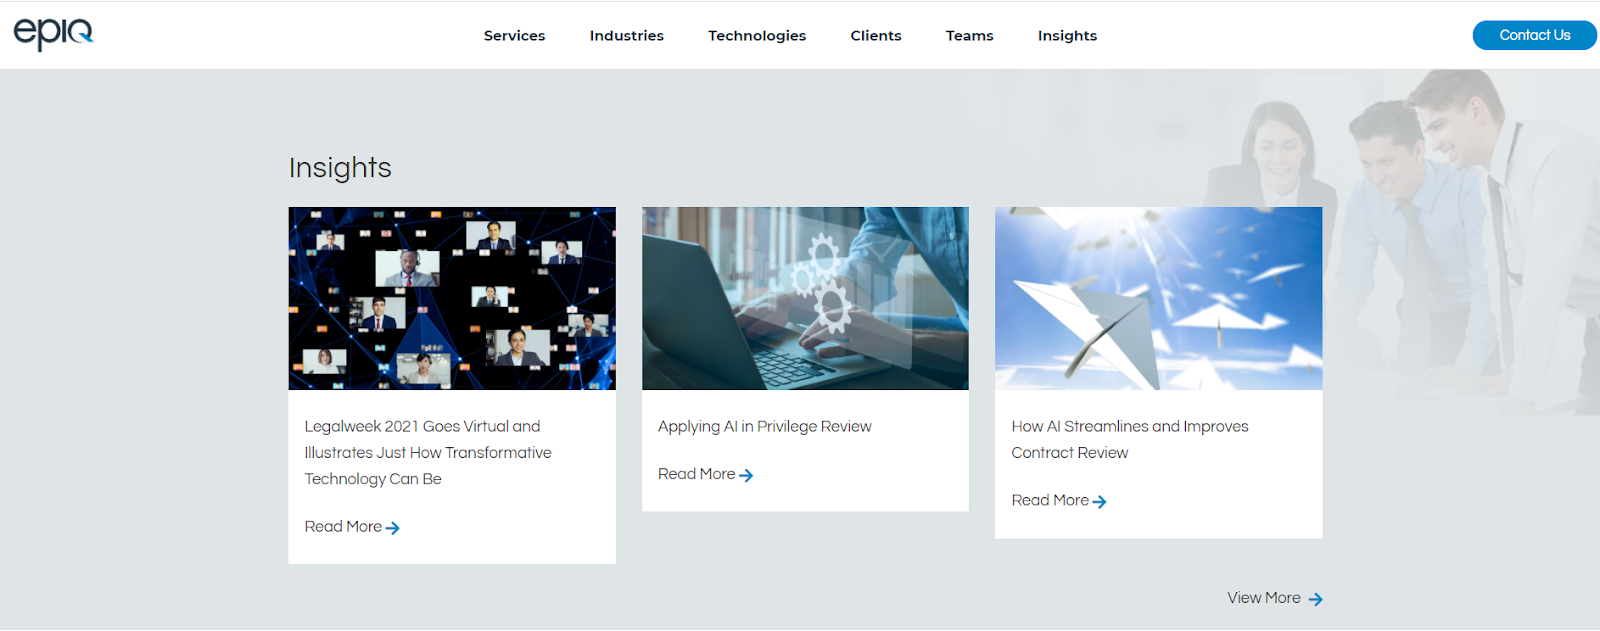
Finally, we have to show relevant Insights for that service :
To achieve these requirements, we need to design a custom “Page Type” in Kentico and create pages based on this Page Type.
Creating a Custom Page Type
There are several key dimensions to a Page Type as shown below:
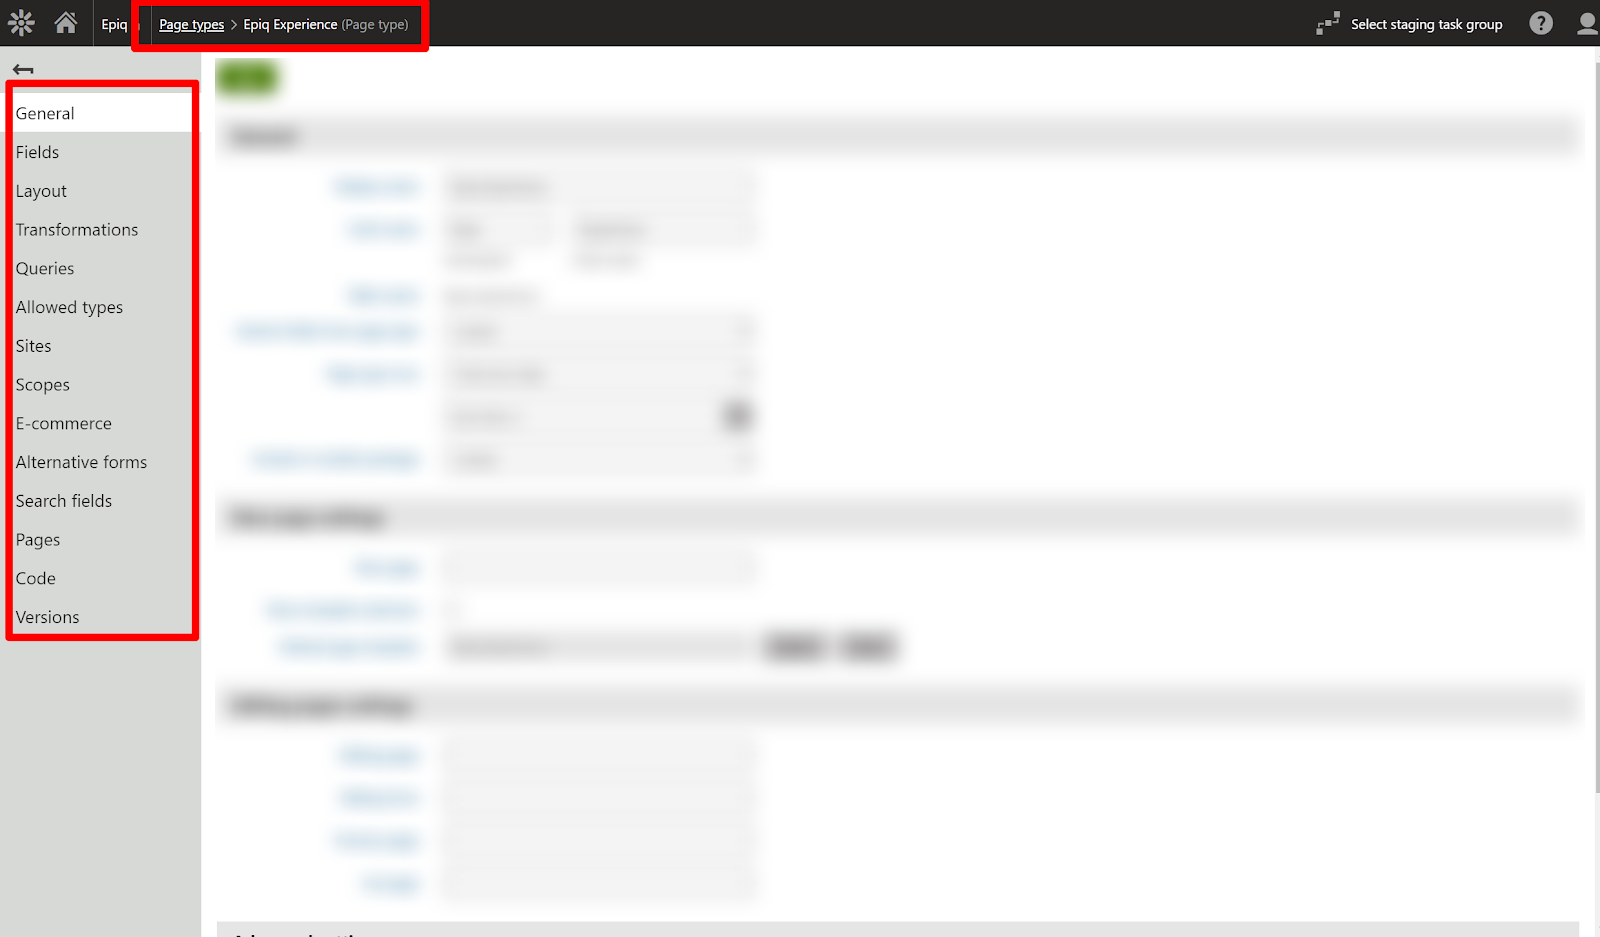
- Fields : We can create custom fields and associate them with this page.
- Layout : This has the basic structure of the page type.
- Transformations : These are ASCX, HTML or other controls that let you control the visualization of the fields that you selected earlier.
- Queries : Queries allow you to load any type of data stored in the Kentico database. For example we can create a custom table and use queries to fetch data from the table.
Next we will illustrate how we used these Page Type dimensions to create a custom page type for the Services use case described earlier.
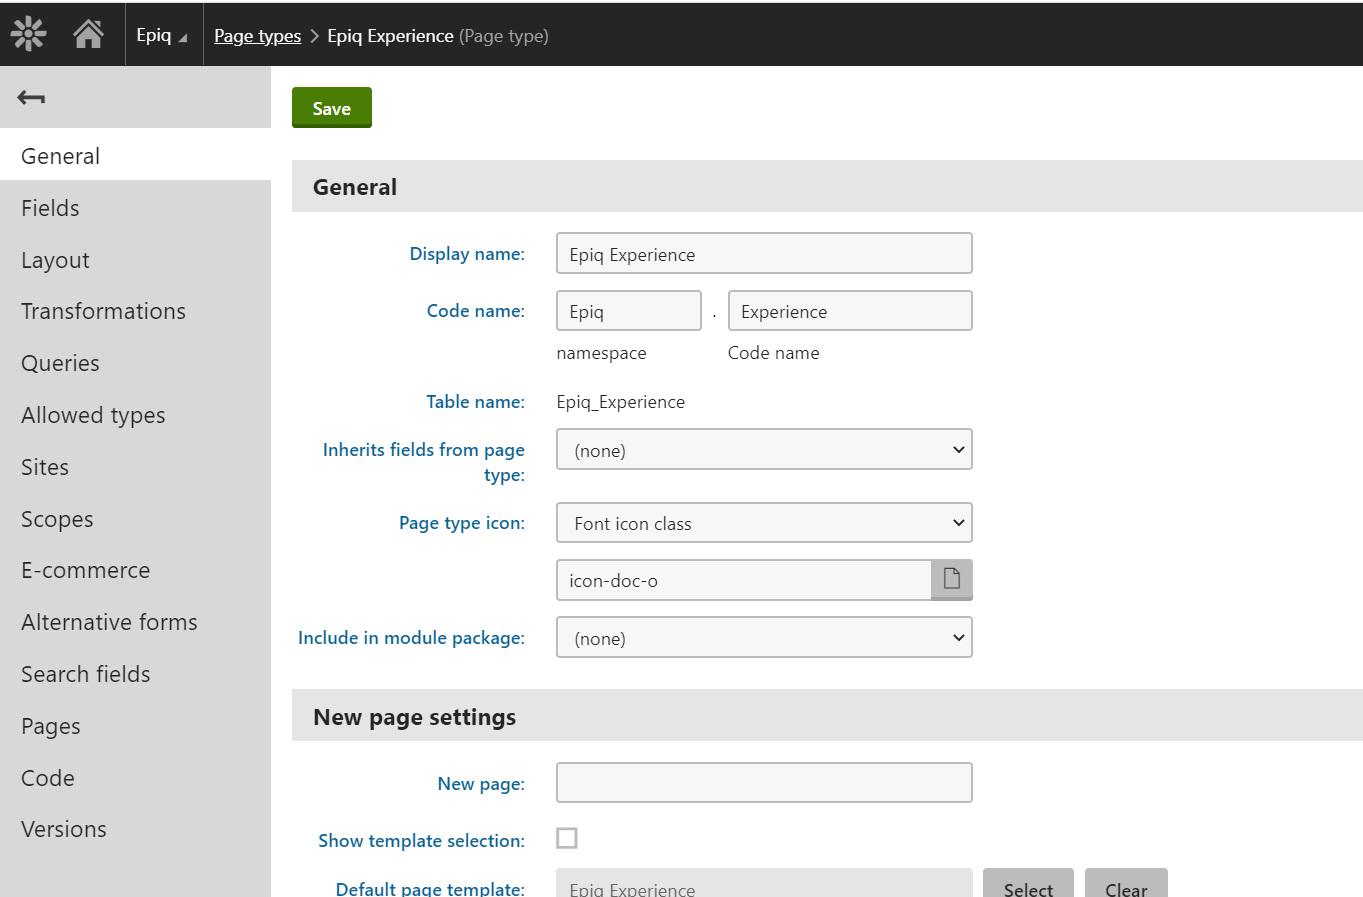
Step 1 : We created a page type called “Epiq Experience” and we should define a unique Code name and database table name to store the content.
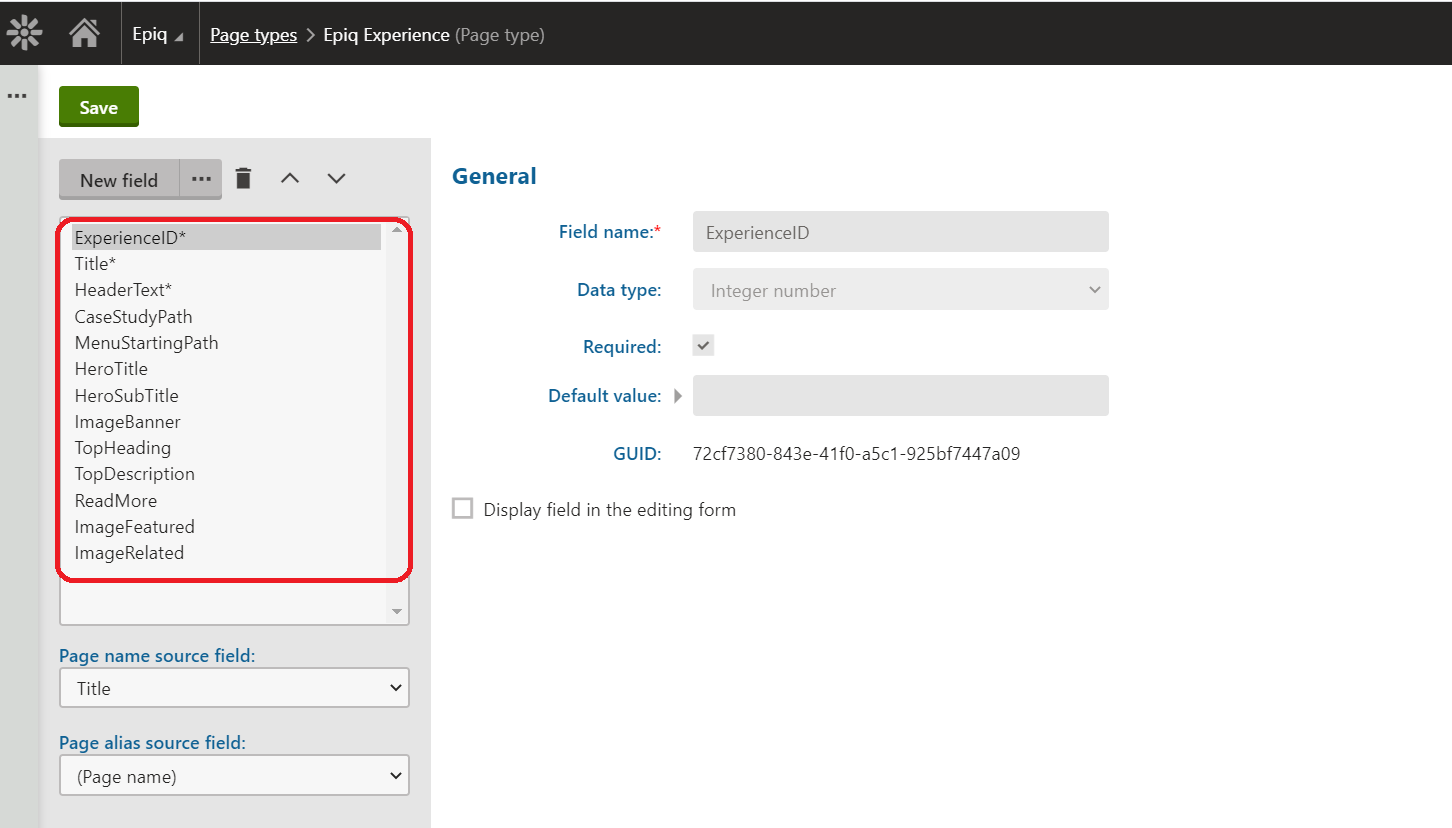
Step 2 : Under the “Fields” section, we created all the necessary fields such as hero image, hero title, case study path and others.
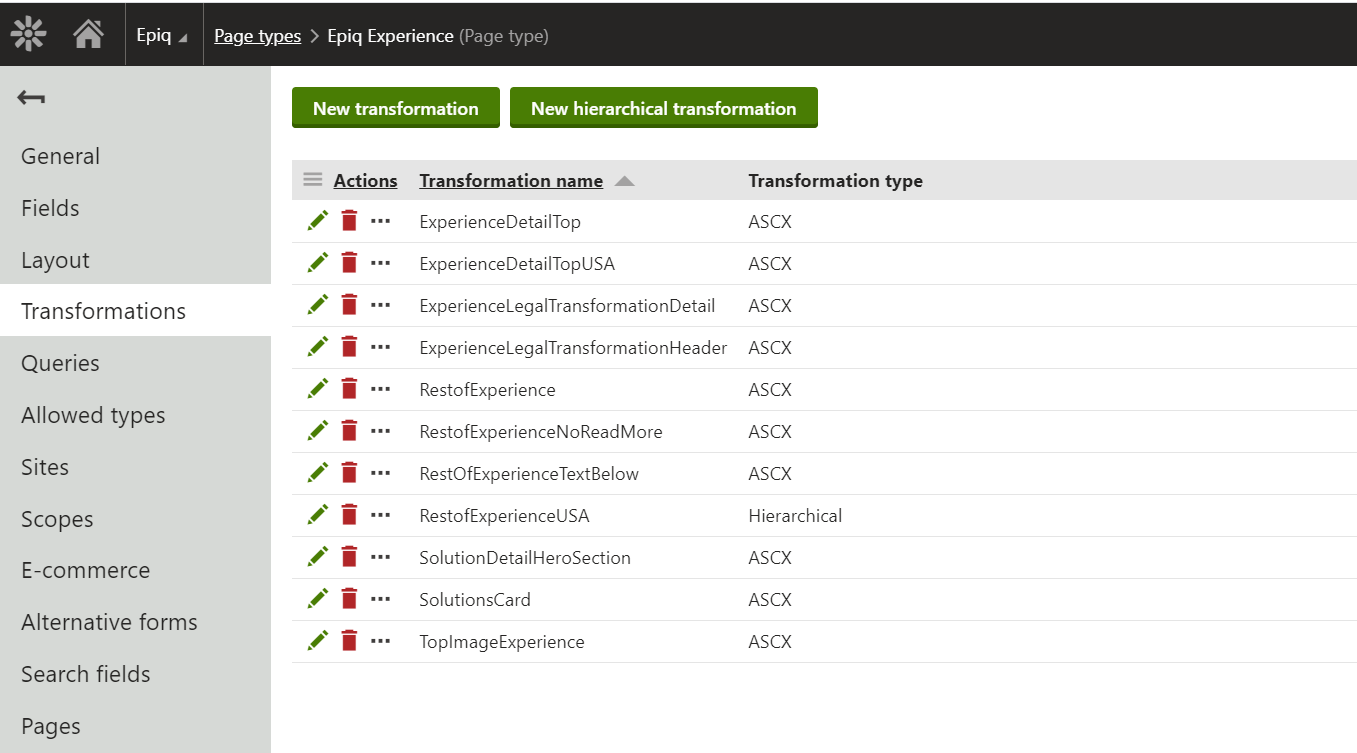
Step 3 : We added Transformations that contain render code for the fields we created. These transformations support ASCX, HTML, Text/XML, XSLT and jQuery code.
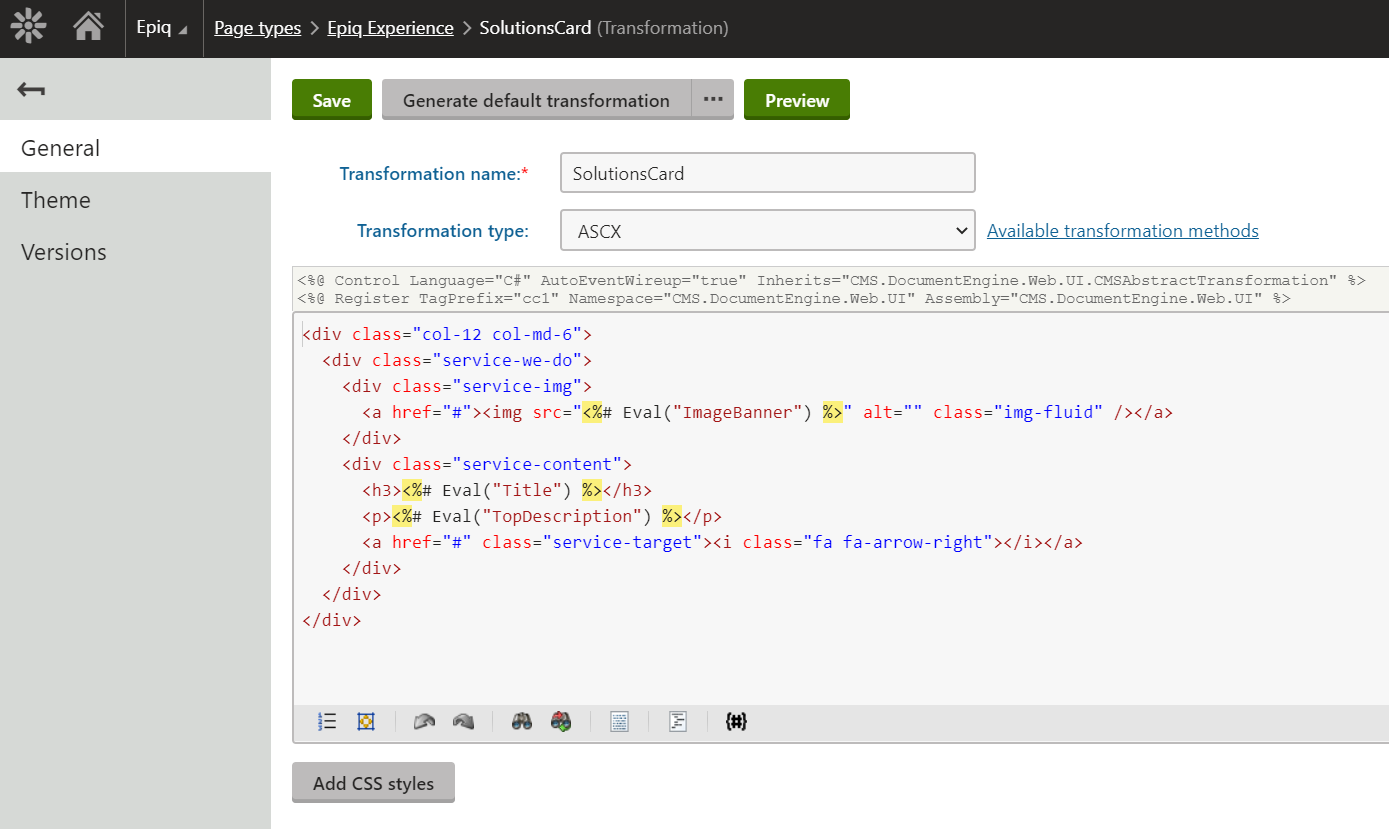
For example, the ASCX transformation below renders the hero section.
At the page level, you can also provide inputs to a transformation using page form fields like below:
These steps complete the creation of a Page Type needed to support the Services use case.
Creating a Services Page based on the custom Page type
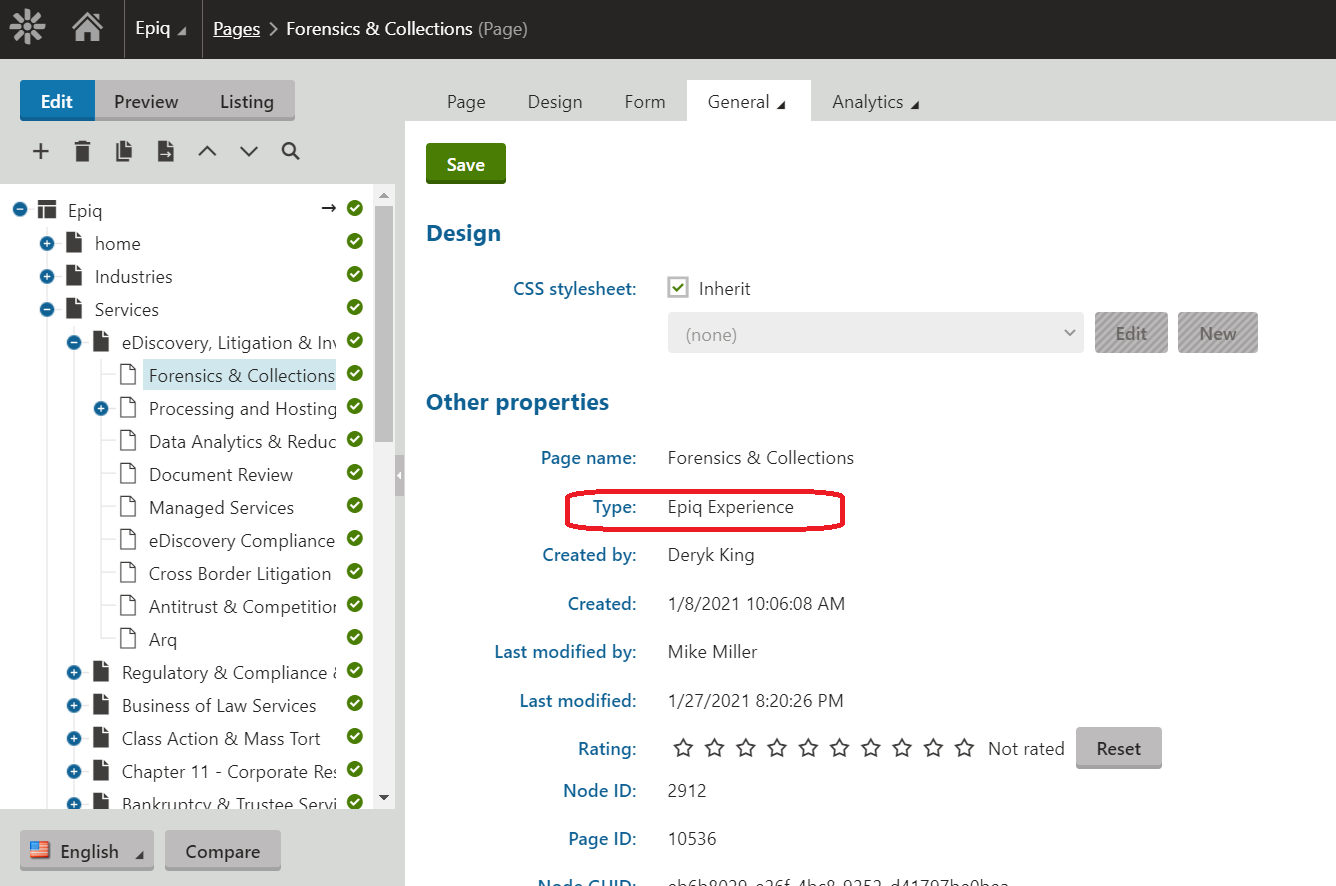
When we create a page, we select the Page Type to be “EPIQ Experience” as shown below:
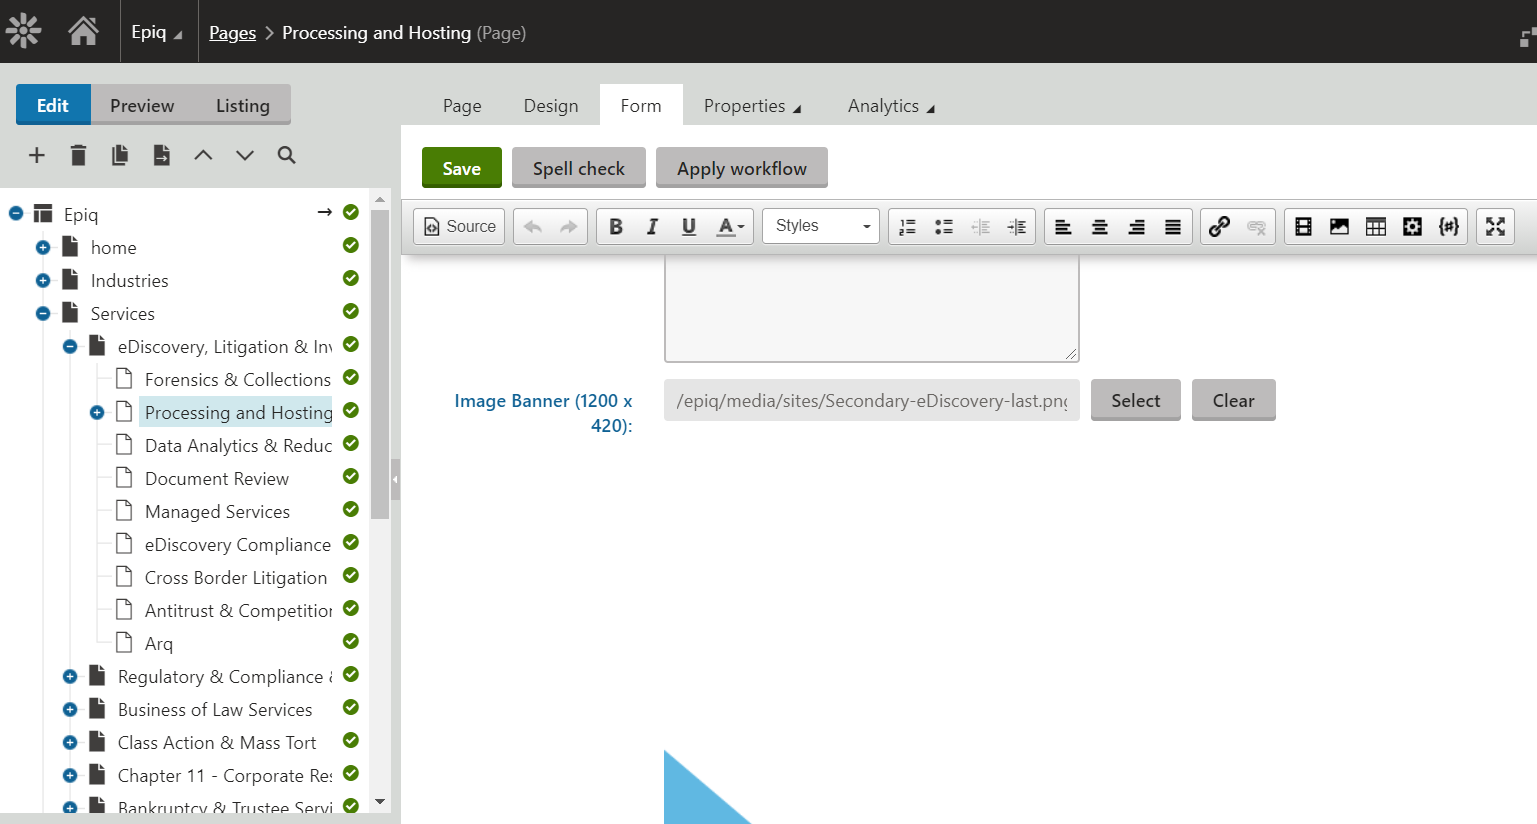
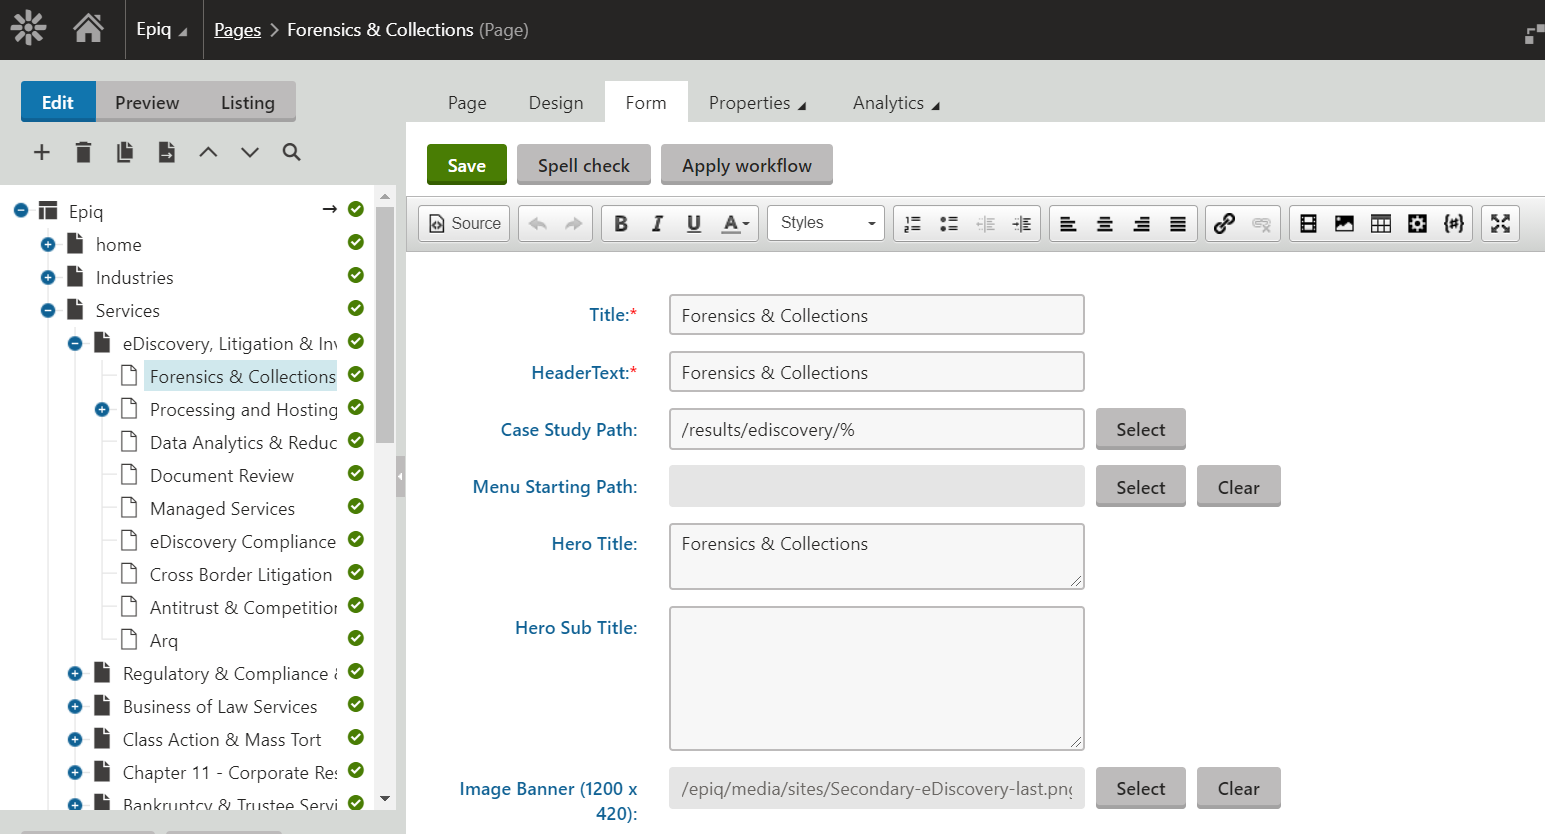
When you click on the “Forms” tab, you will now see all the form fields that were defined in the Page Type earlier. You can select the relevant values.
These field values along with the associated transformations will also power the various web parts designed in the layout.
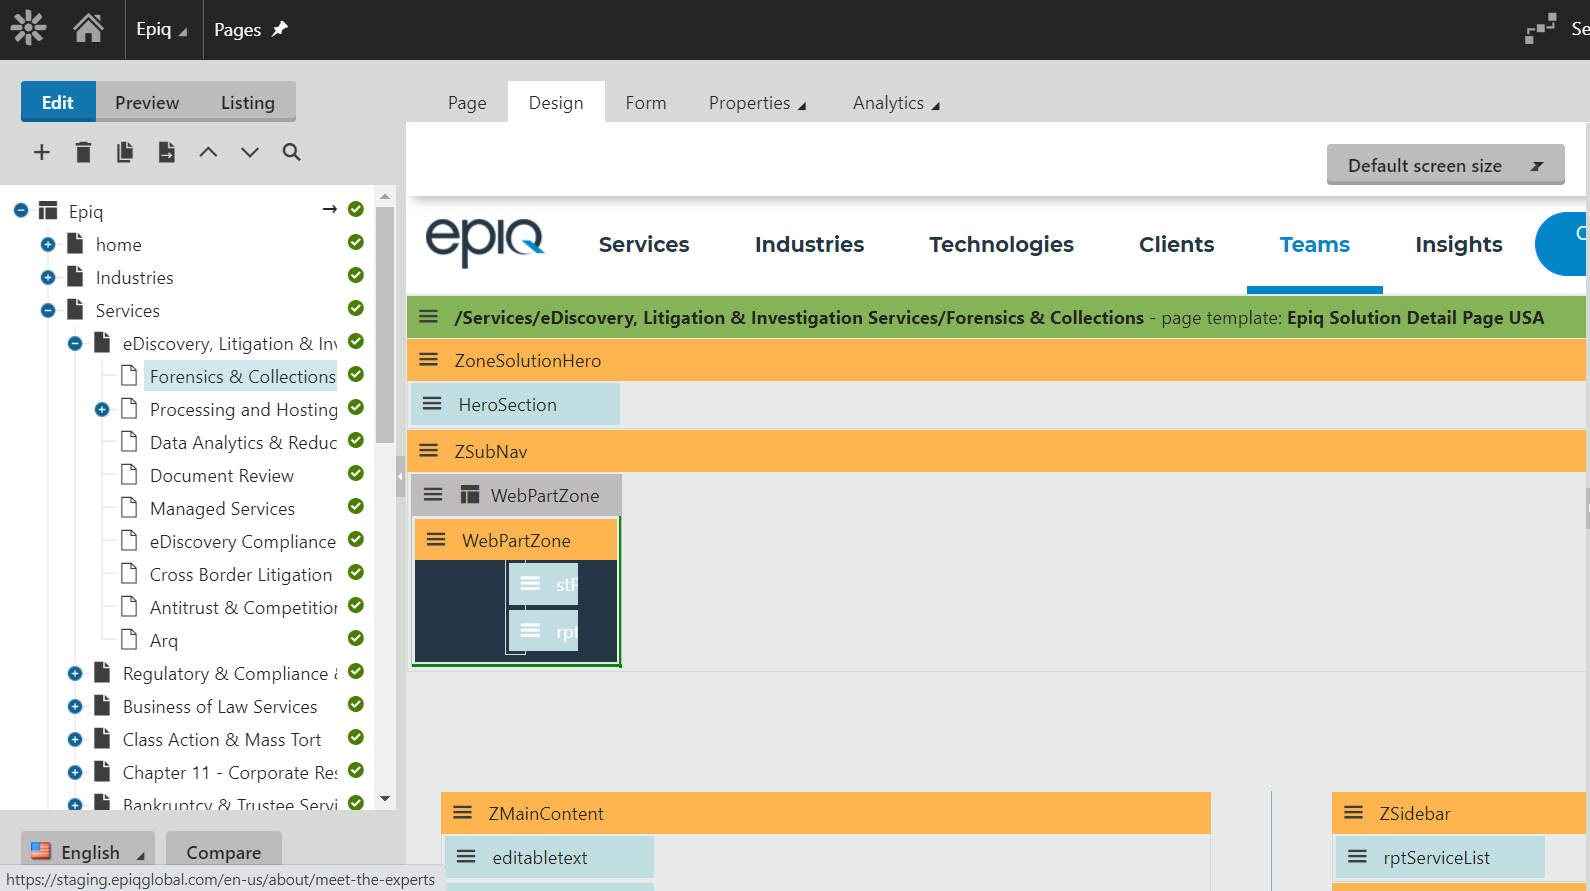
As a final step, you can now see the page as shown below :

Additional References
- To learn more about building custom Kentico web parts click here.
- To learn about the intricacies of applying different designs to a multilingual Kentico site, go here